Tips, Tricks & More!
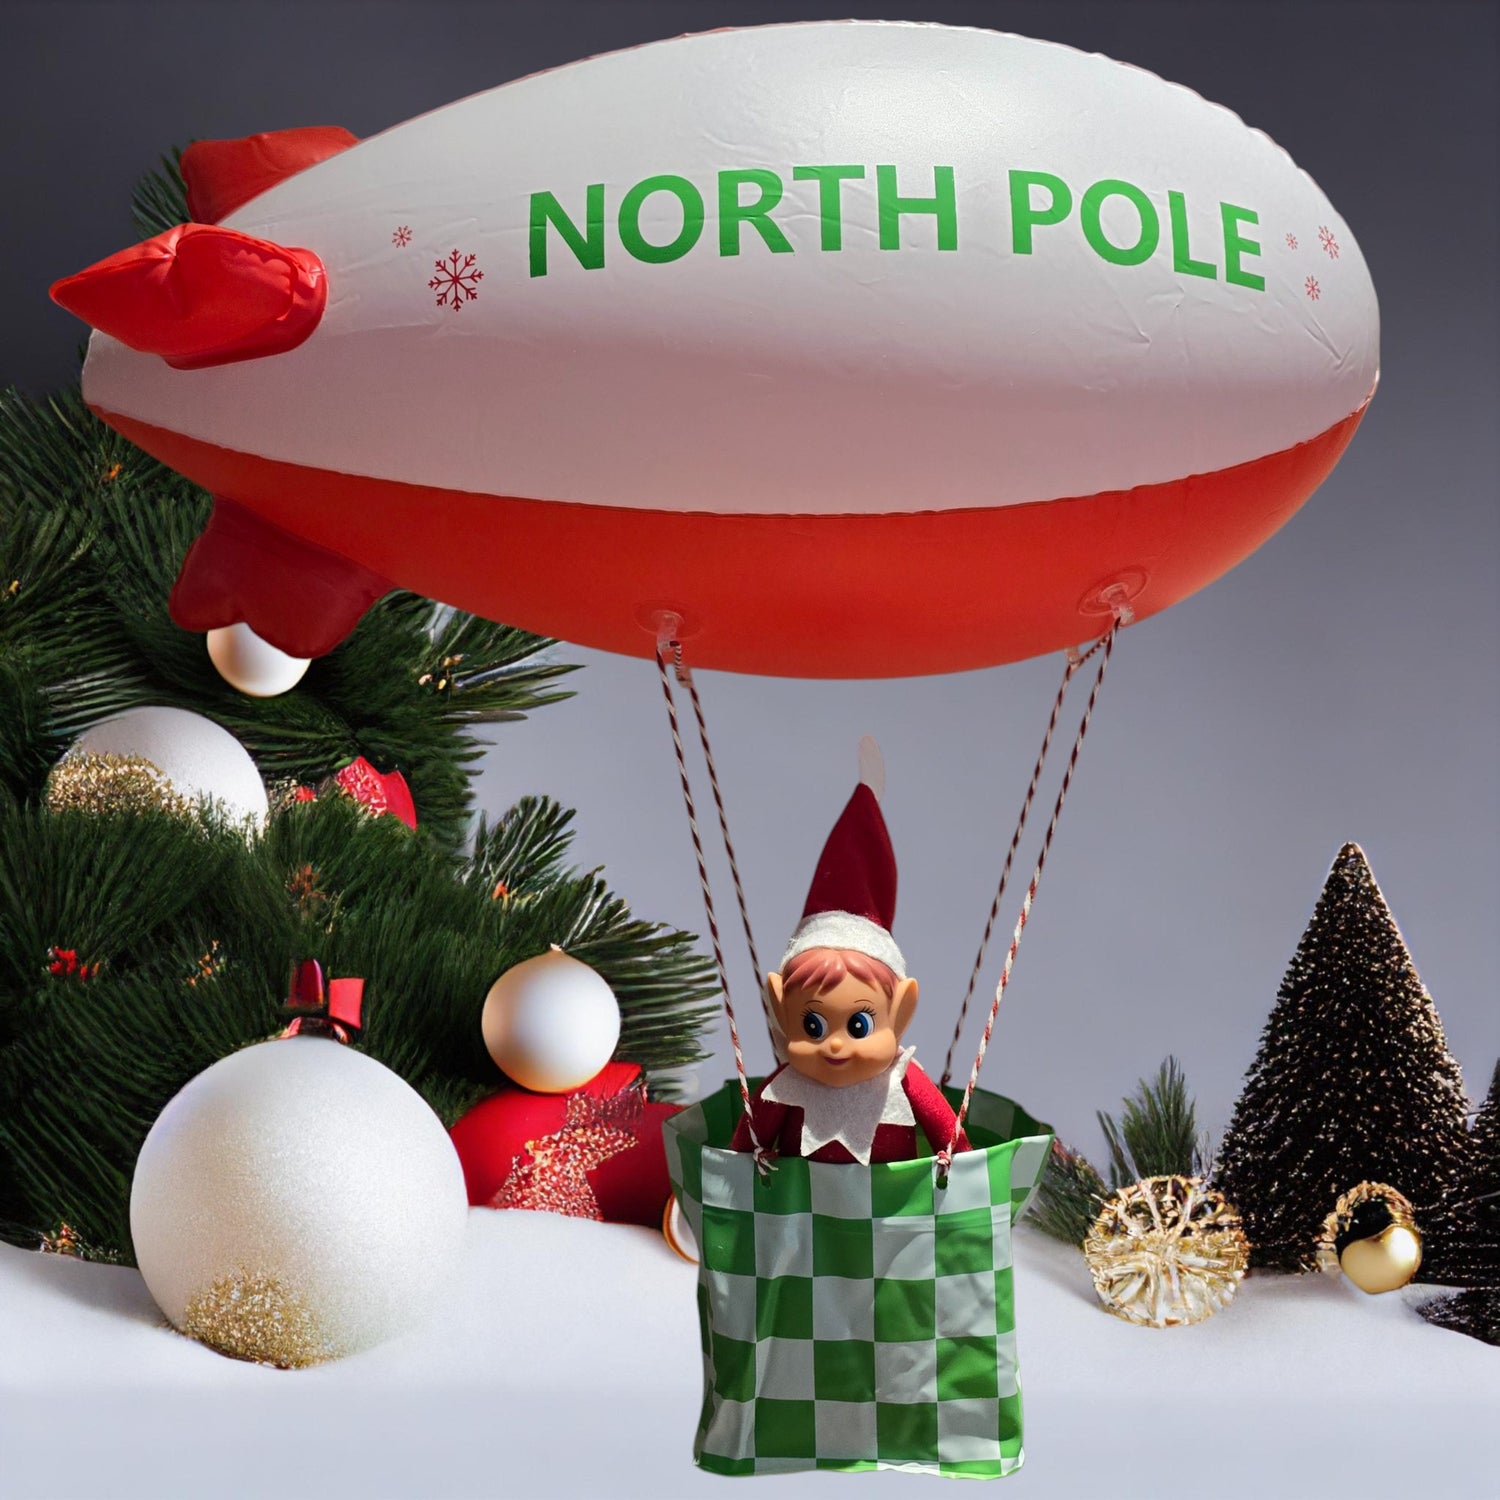
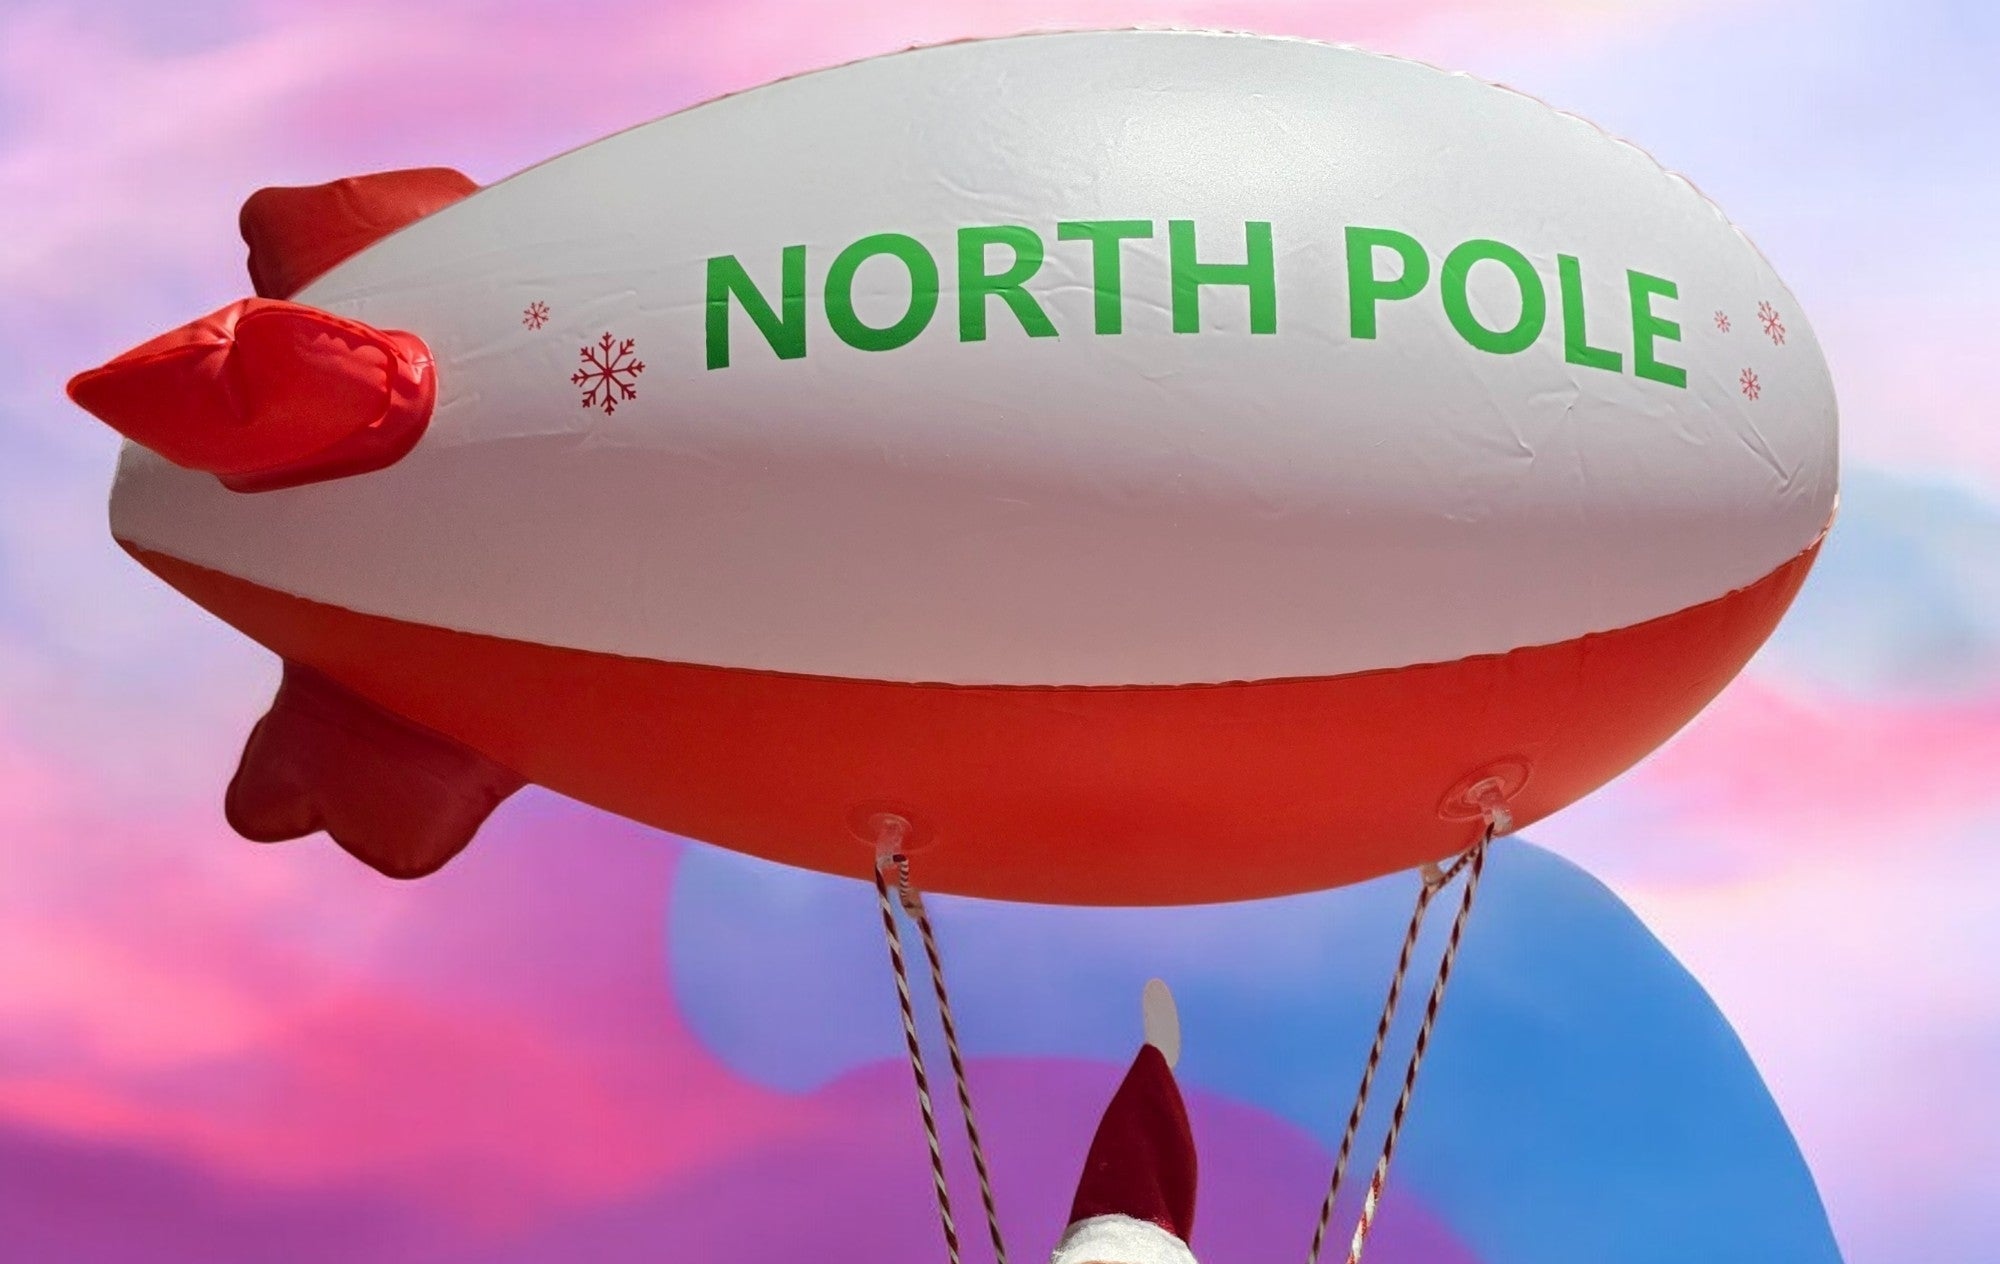
ARRIVAL DAY
Day 1
Using a portal air pump with a tapered nozzle to pump air in will speed up the blimp inflation process.
Caution: Do not over inflate.
Cut a piece of cardboard roughly the size of the basket's base and place it inside to help maintain the basket's shape. You can use the same method for the sides to ensure the basket keeps its form.
Roll up the arrival letter, secure it with the provided clear rubber band, and place it in the basket next to the elf, as if the elf is holding it.
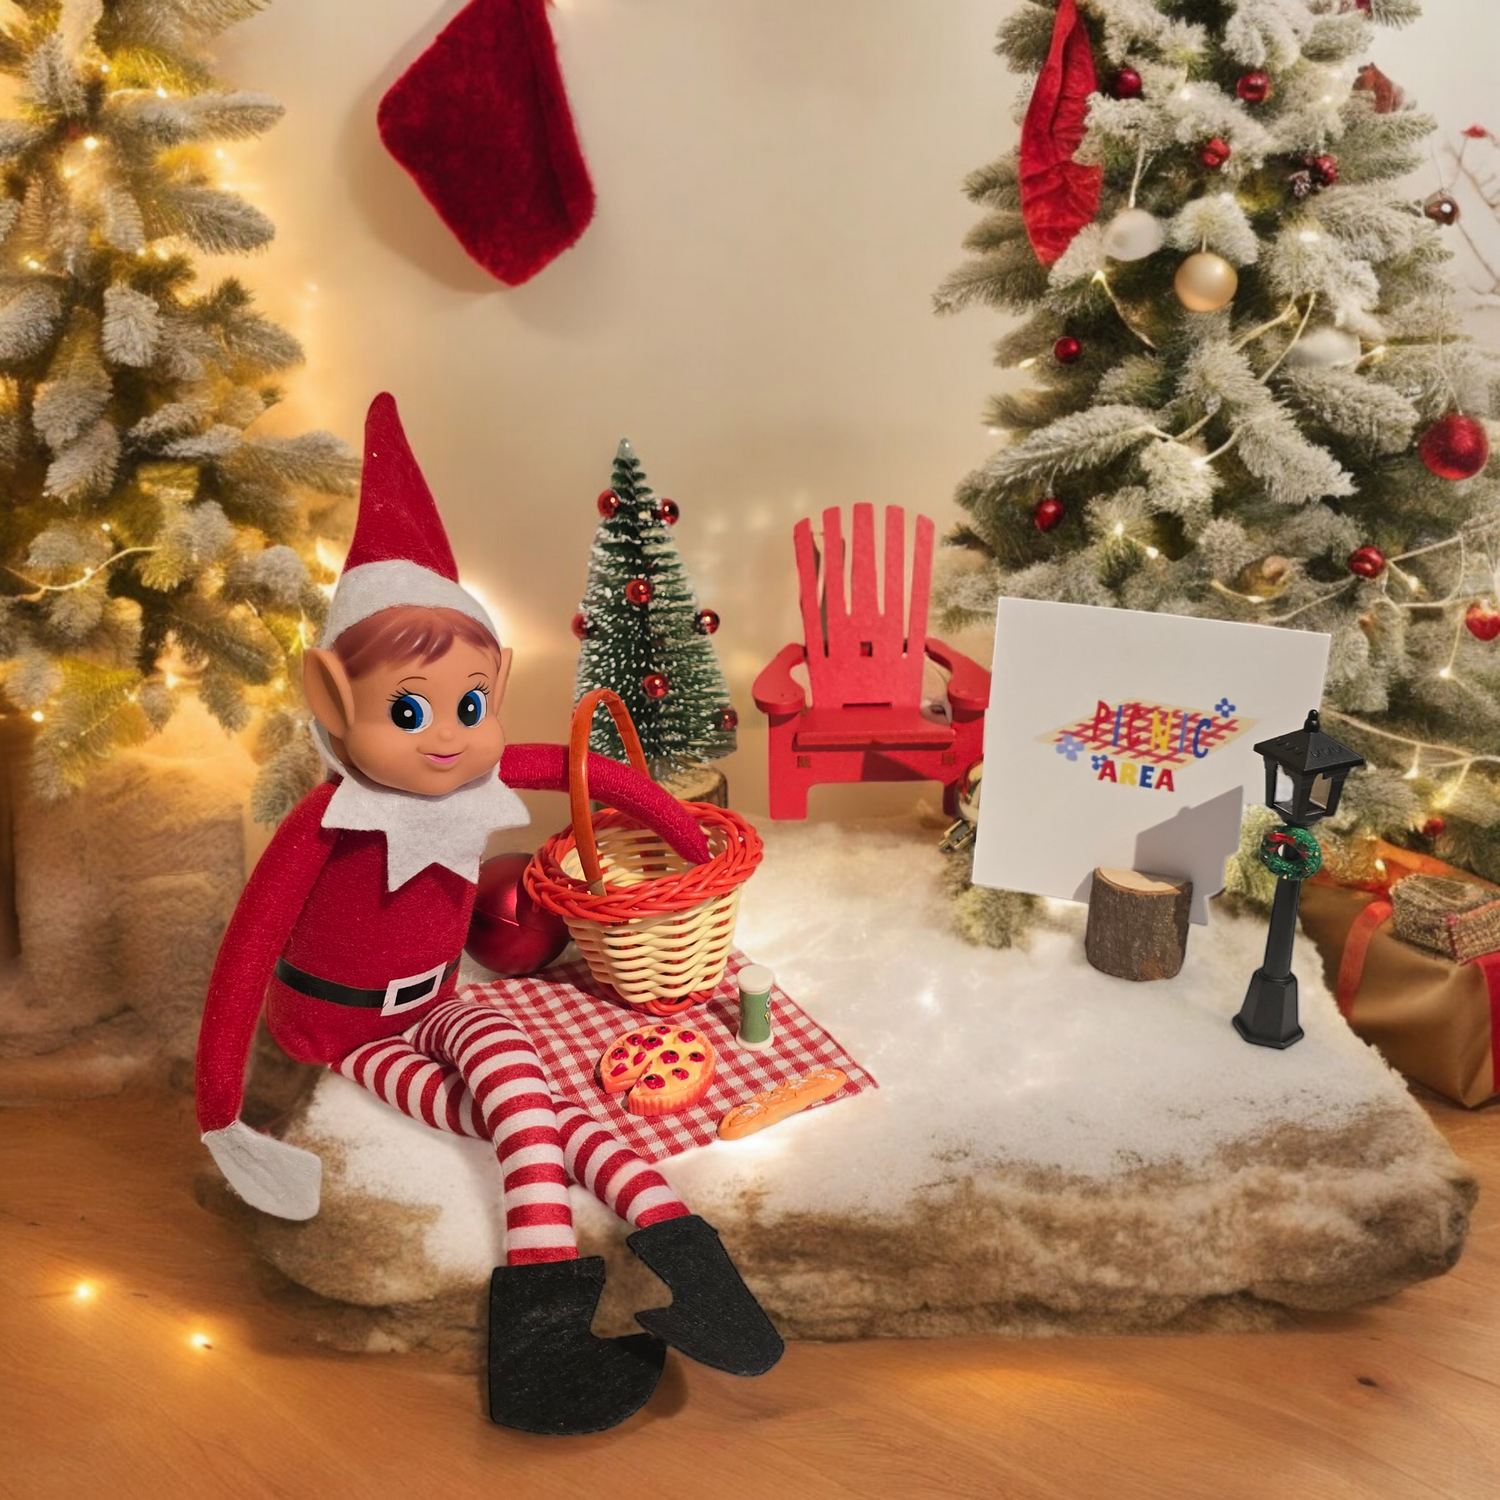
PICNIC TIME
Day 2
Incorporate holiday decorations such as miniature Christmas trees, lights, and faux snow to create a festive outdoor atmosphere.
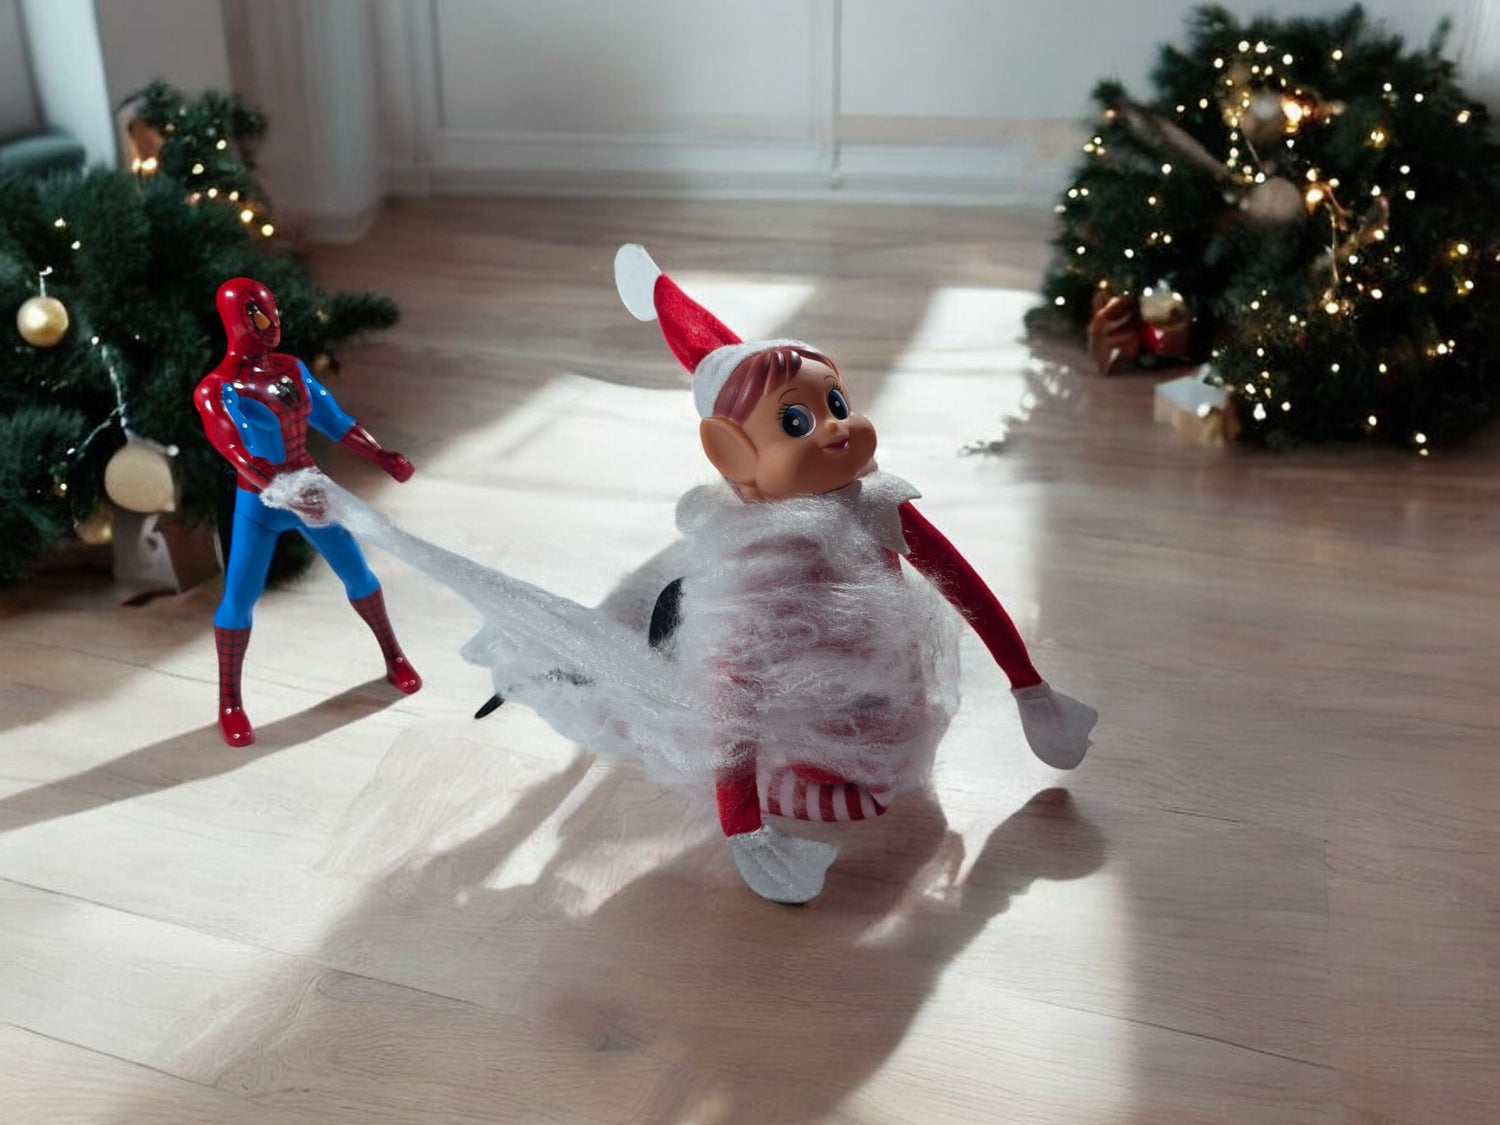
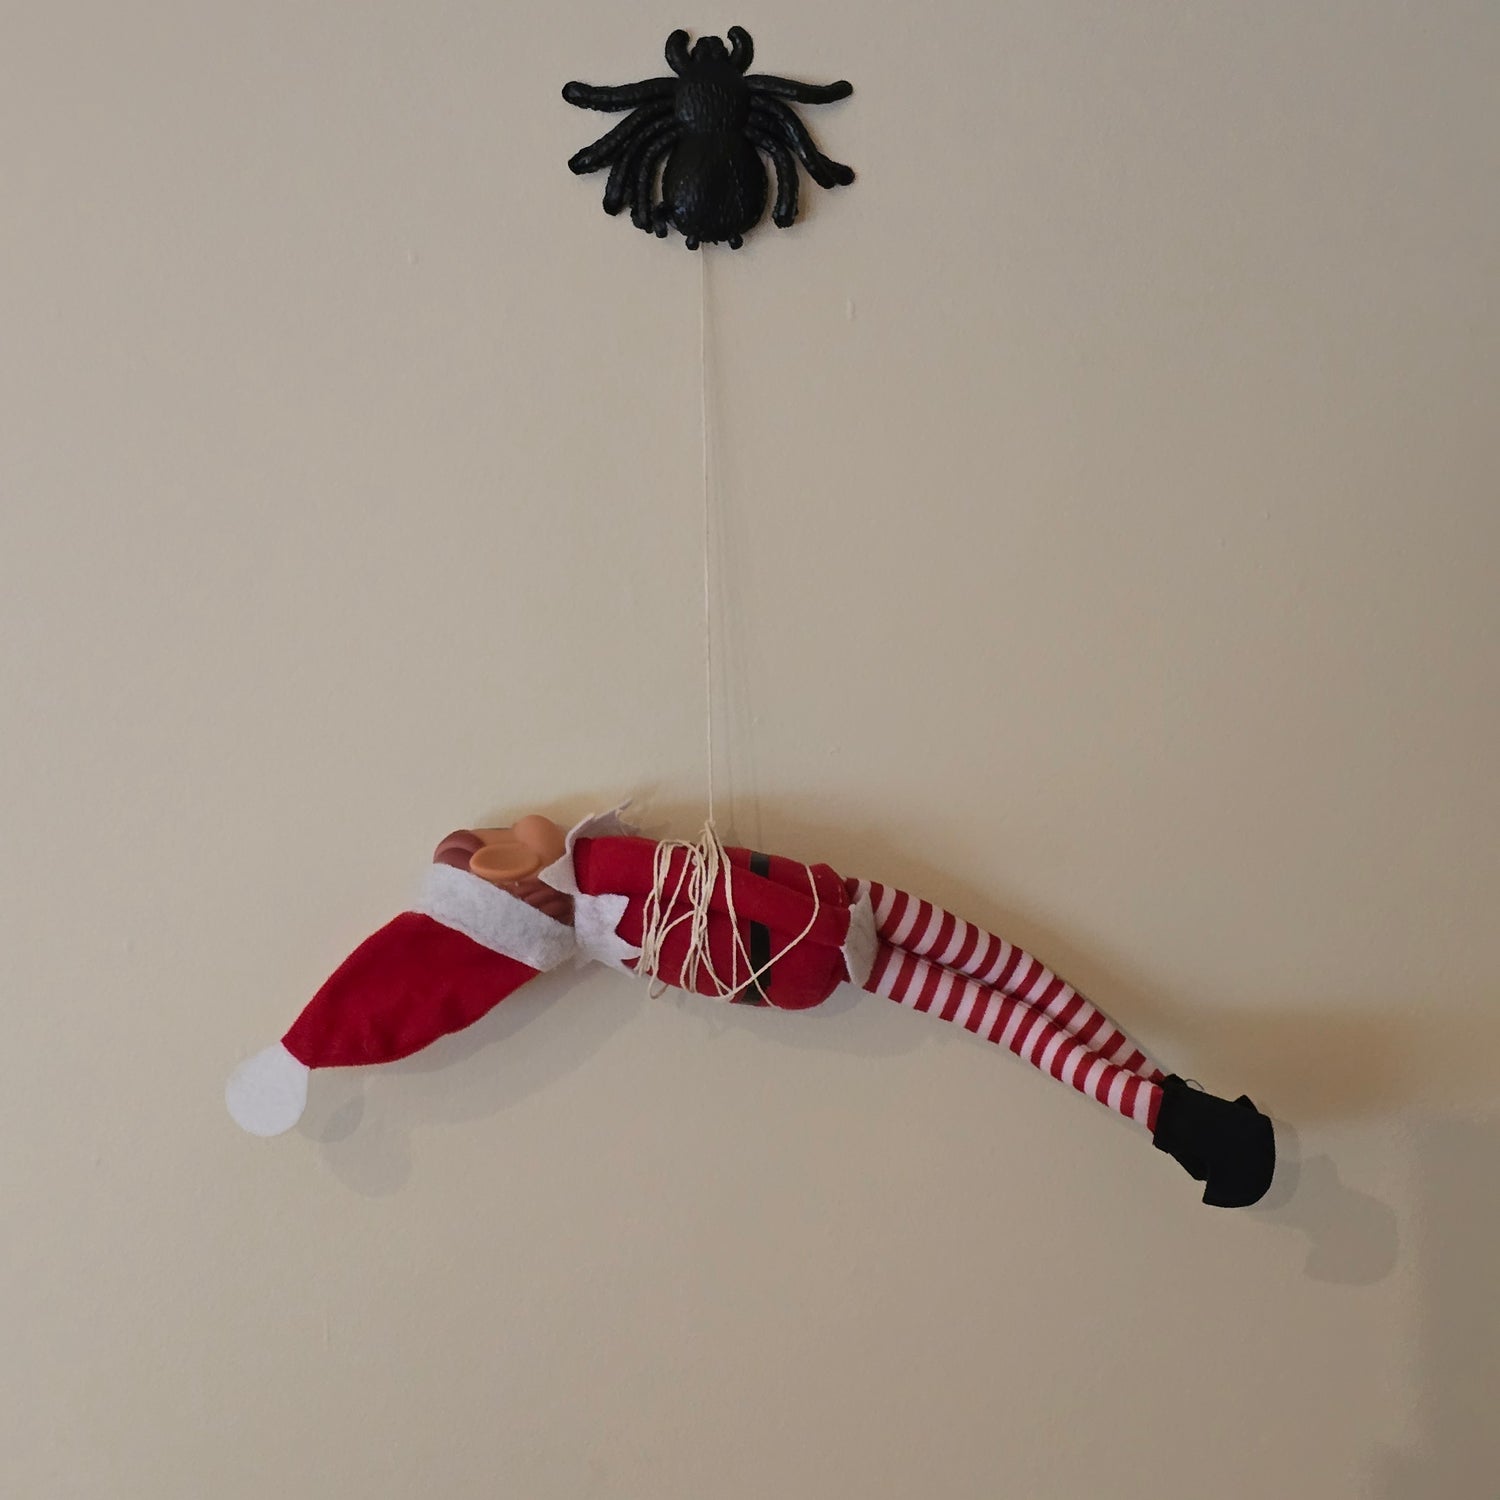
SPIDERMAN
Day 3
Hang the wrapped elf upside down on the Christmas tree, with the cobwebs extending to Spider-Man's hand.
For two elves, divide the cobwebs into two parts. Extend one half from Spider-Man's right hand to one elf, and the other half from his left hand to the other elf.
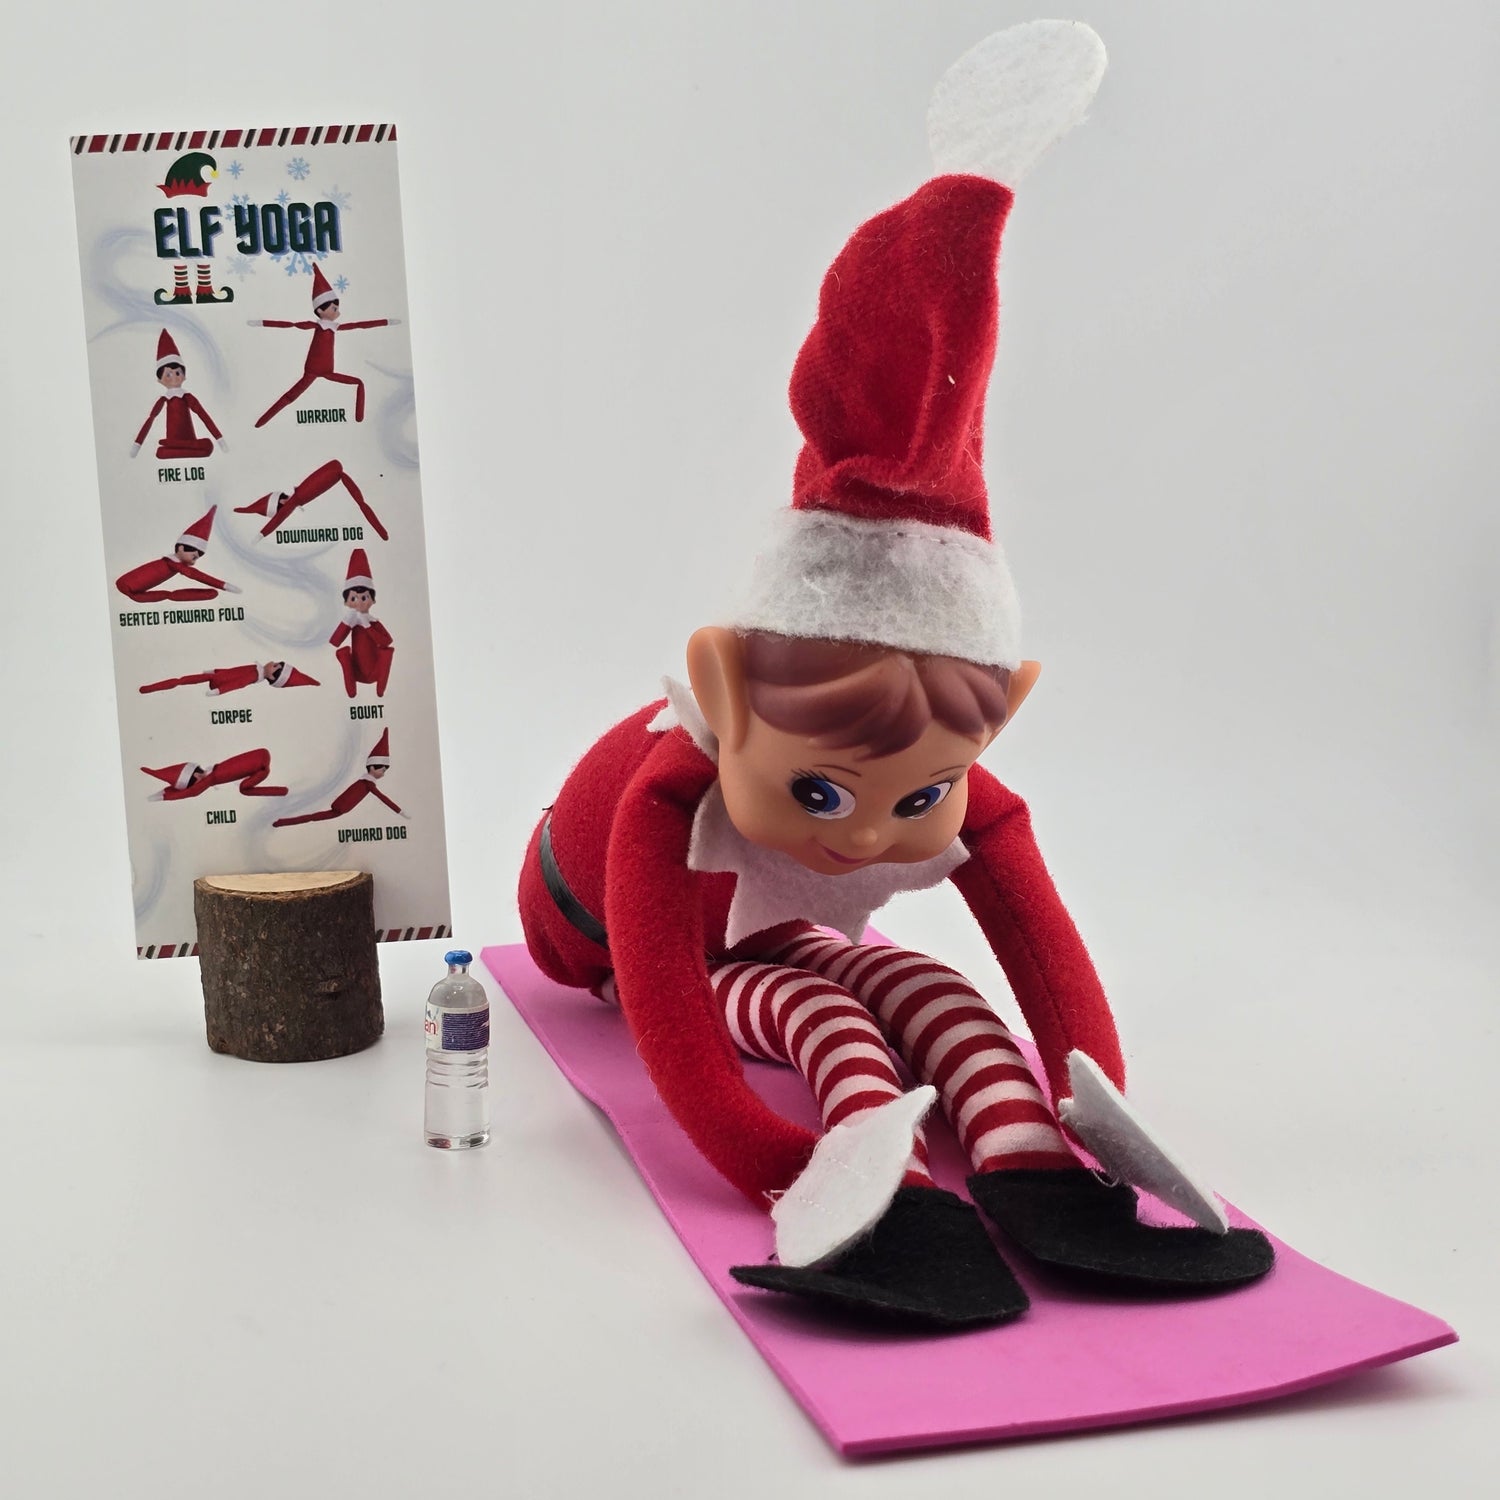
ELF YOGA
Day 4
If necessary, use a clear rubber band or glue dots to help position the elf.
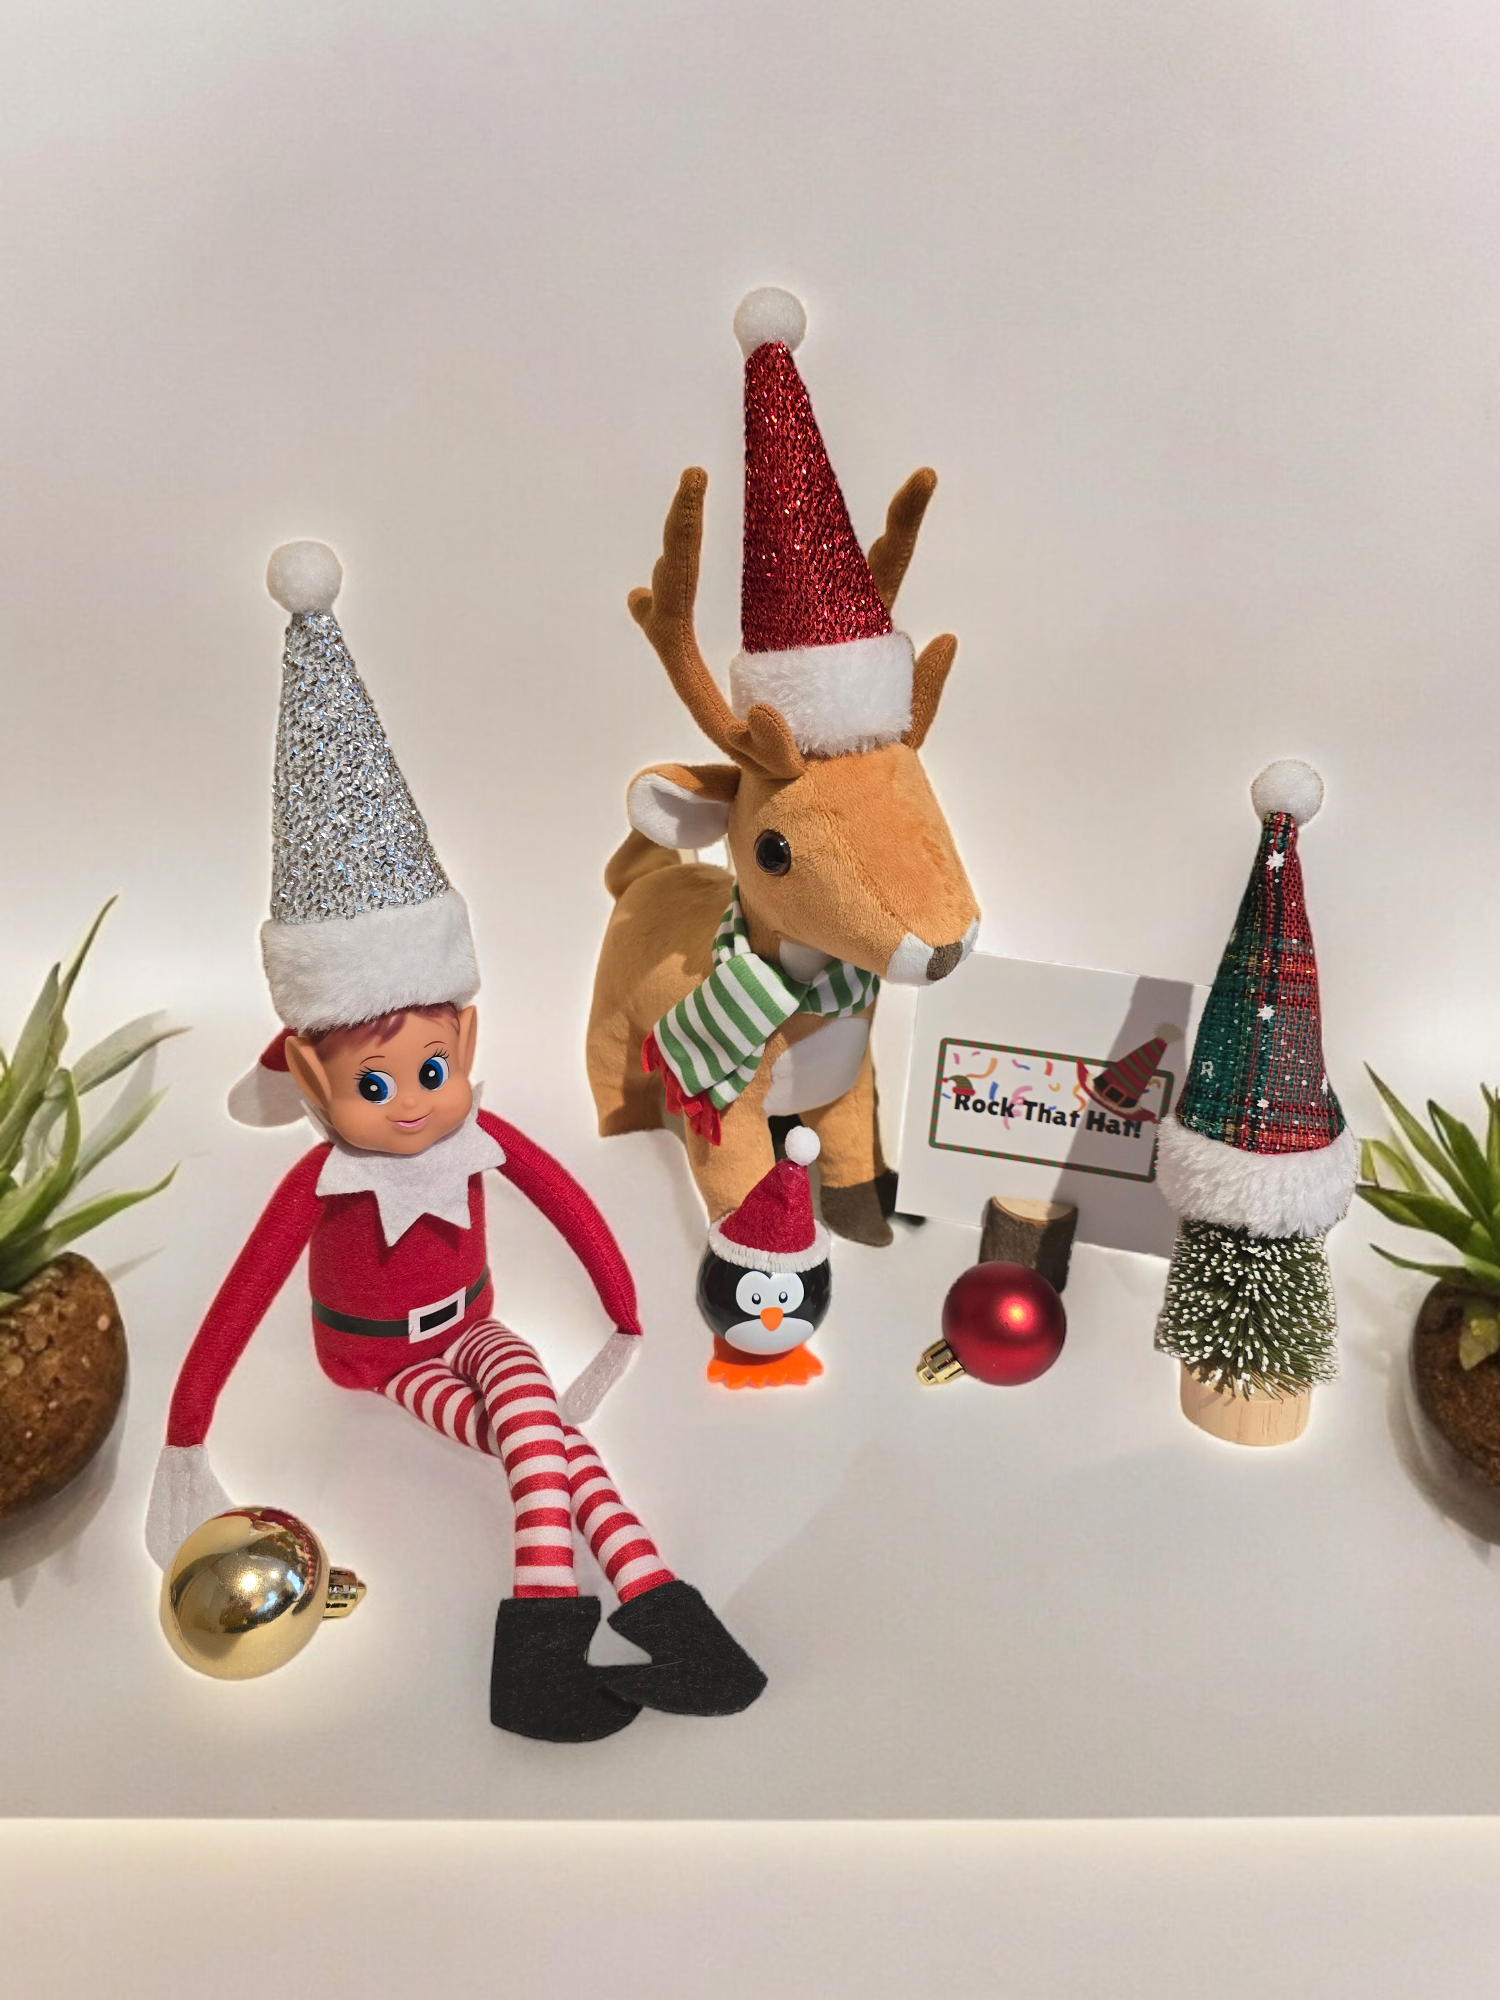
HAT DAY
Day 5
Place the hat on the elf and put the remaining hat(s) on a doll, figurine, or other elf friends.

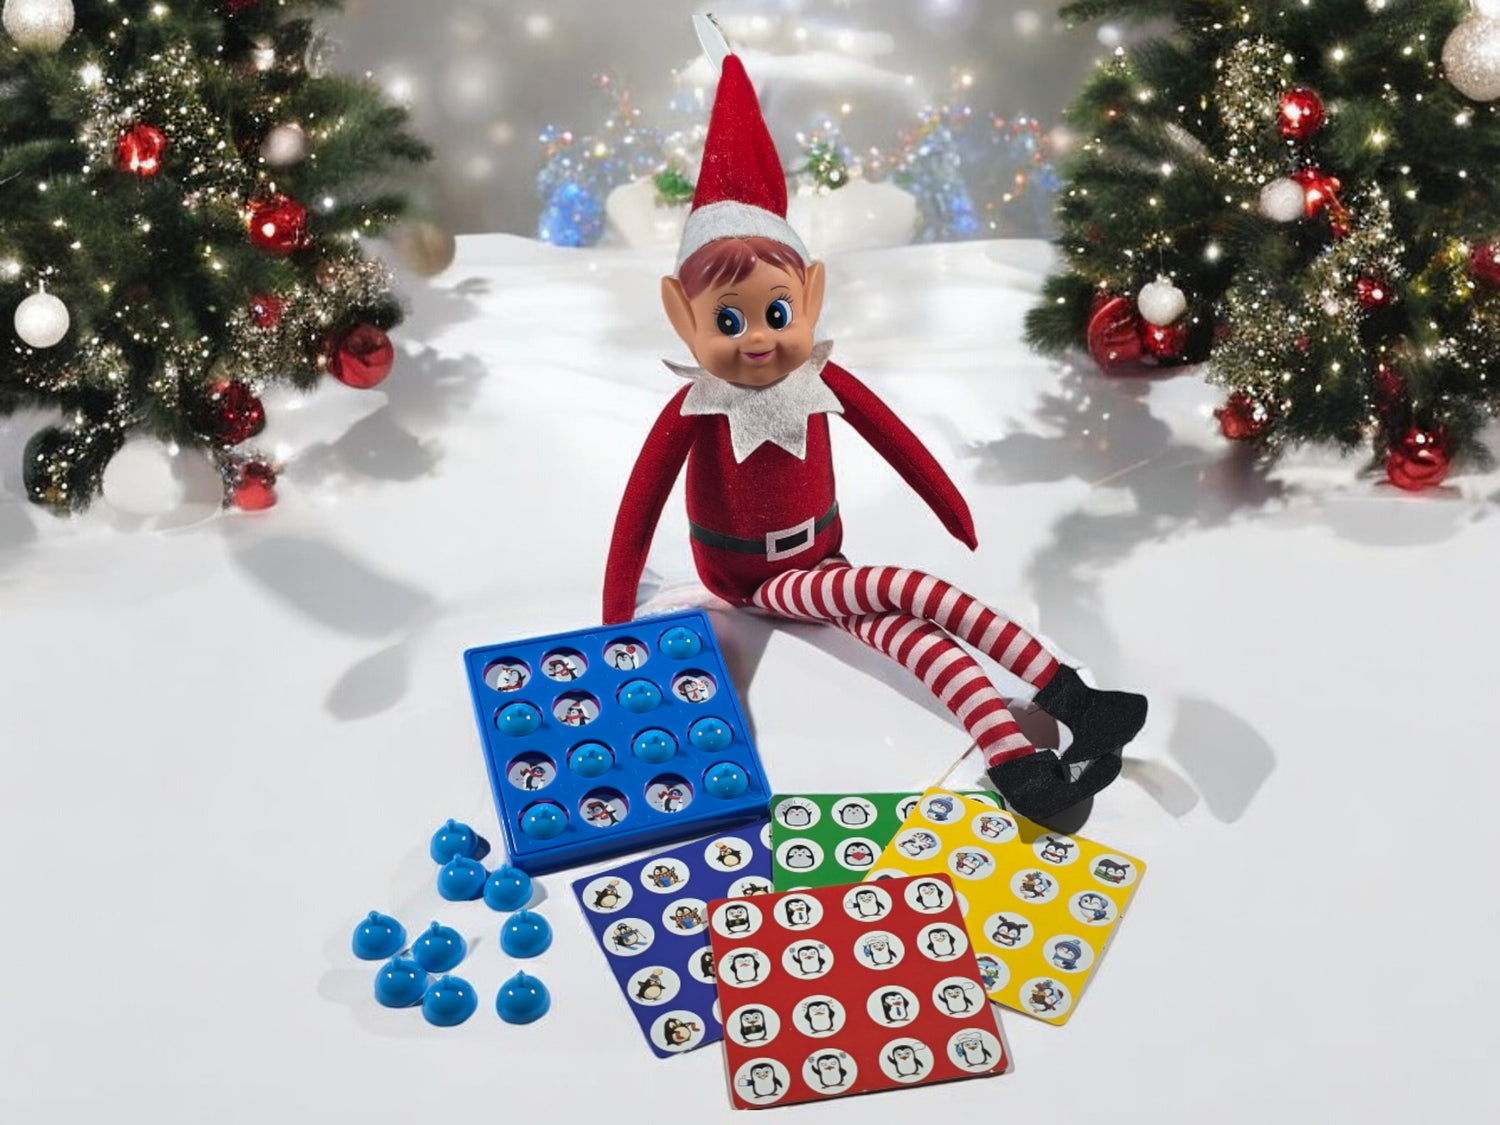
REINDEER & PENGUIN RACE
Day 6
Apply glue dots to attach the flag to the elf's hand.
Optional: Use a string or twine to mark the starting line for the race.
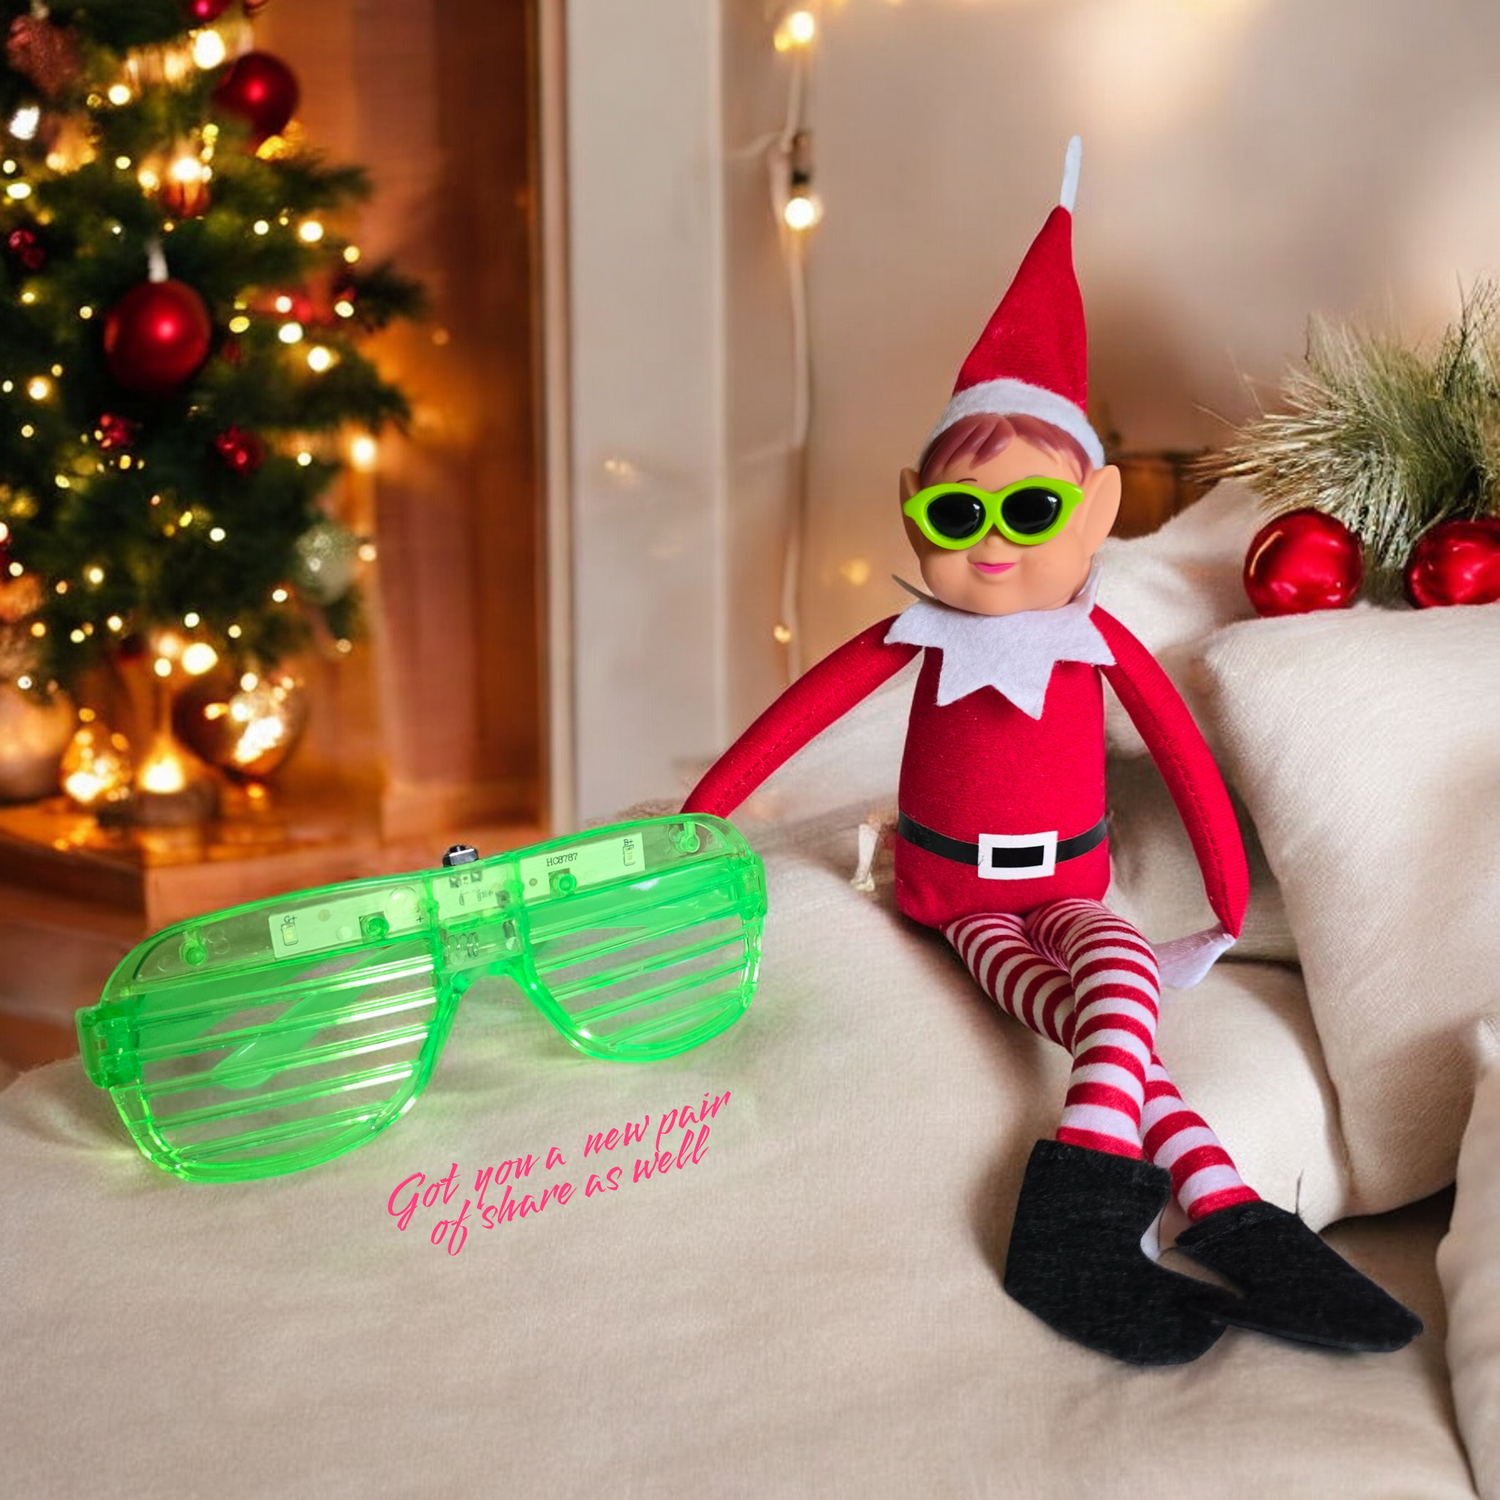
COOL SHADES
Day 7
Use glue dots to secure the glasses onto the elf.
To turn on the LED lights on the kid's glasses: Pull the paper tab out and then press the button.
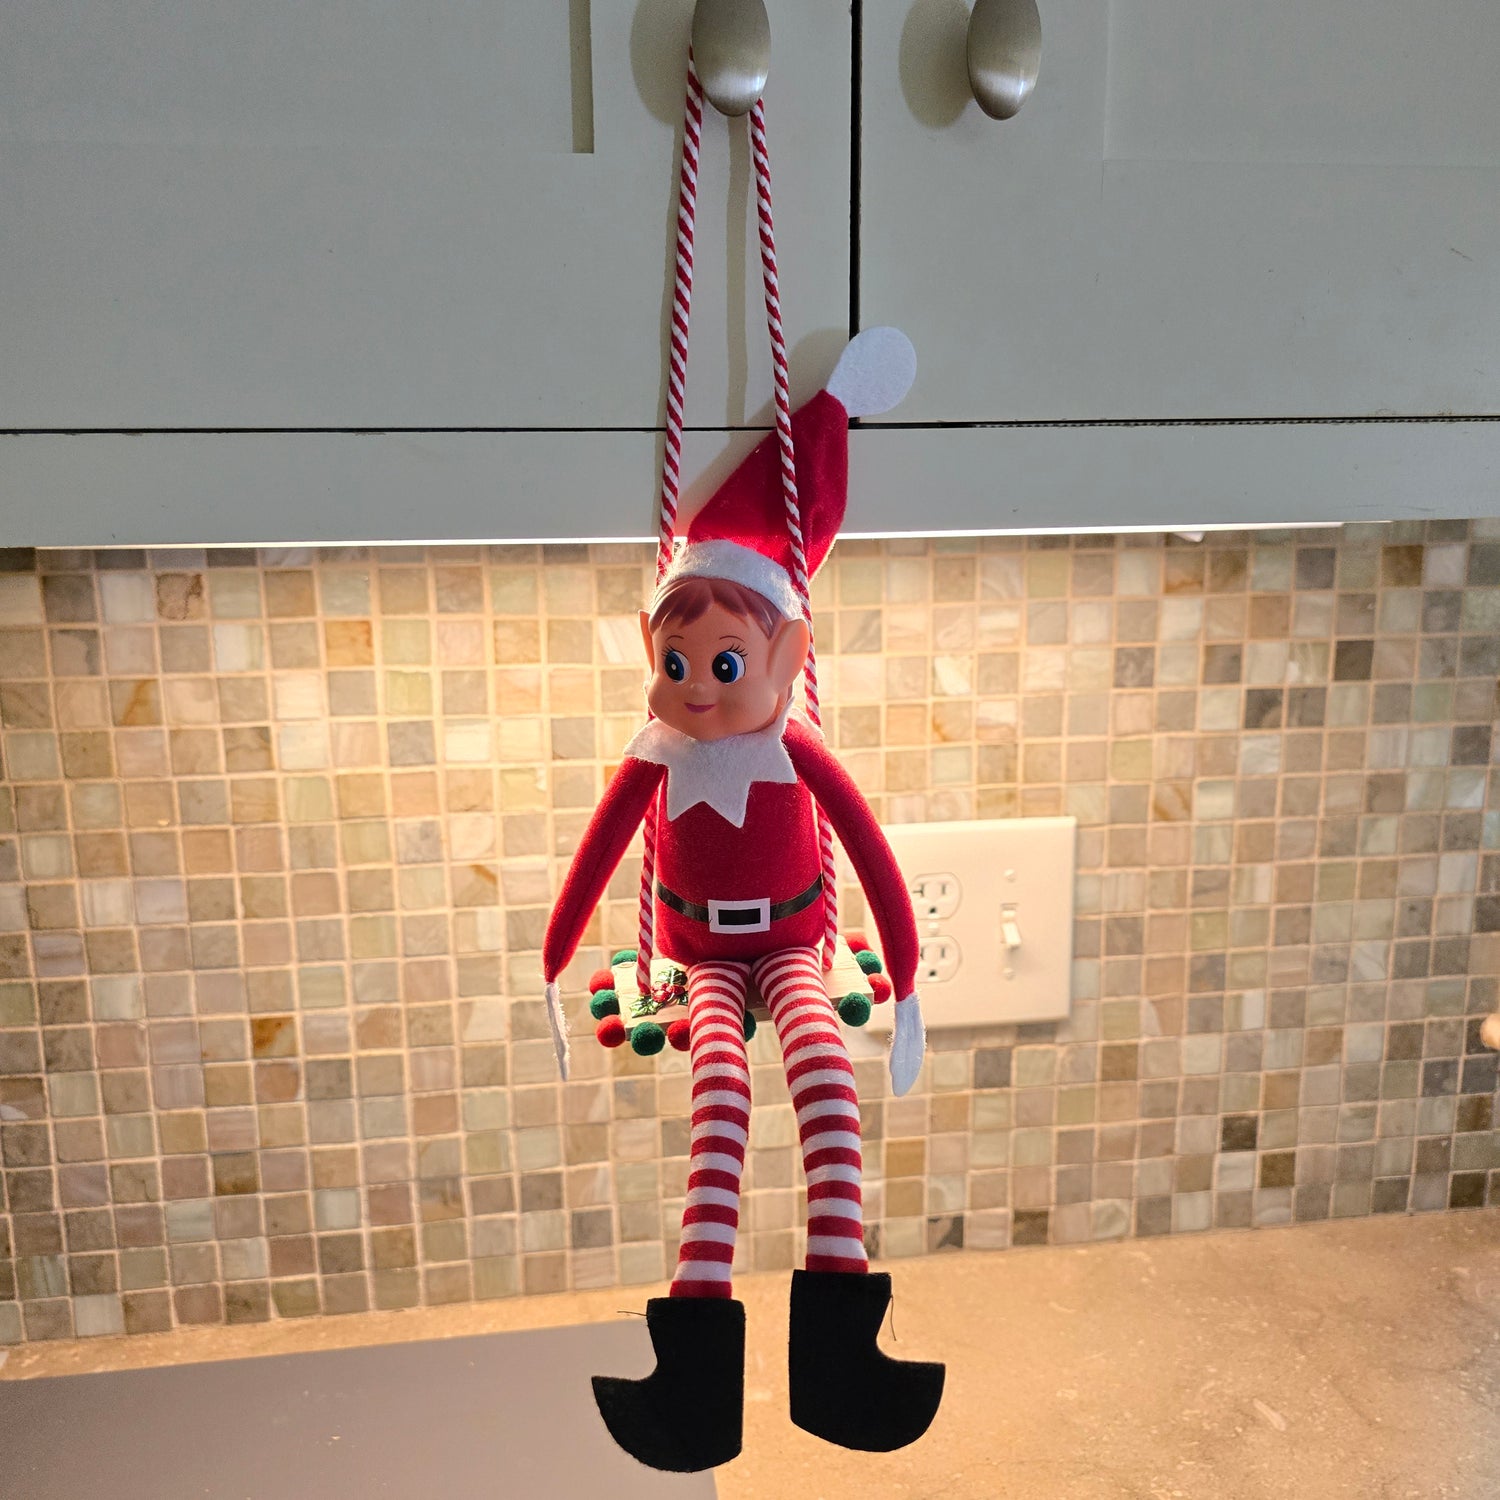
SWING
Day 8
Use glue dots or rubber bands to secure the elf in place on the swing.
Secure the swing to a fixture such as a ceiling light, curtain rod, Christmas tree, back of a chair, or similar.
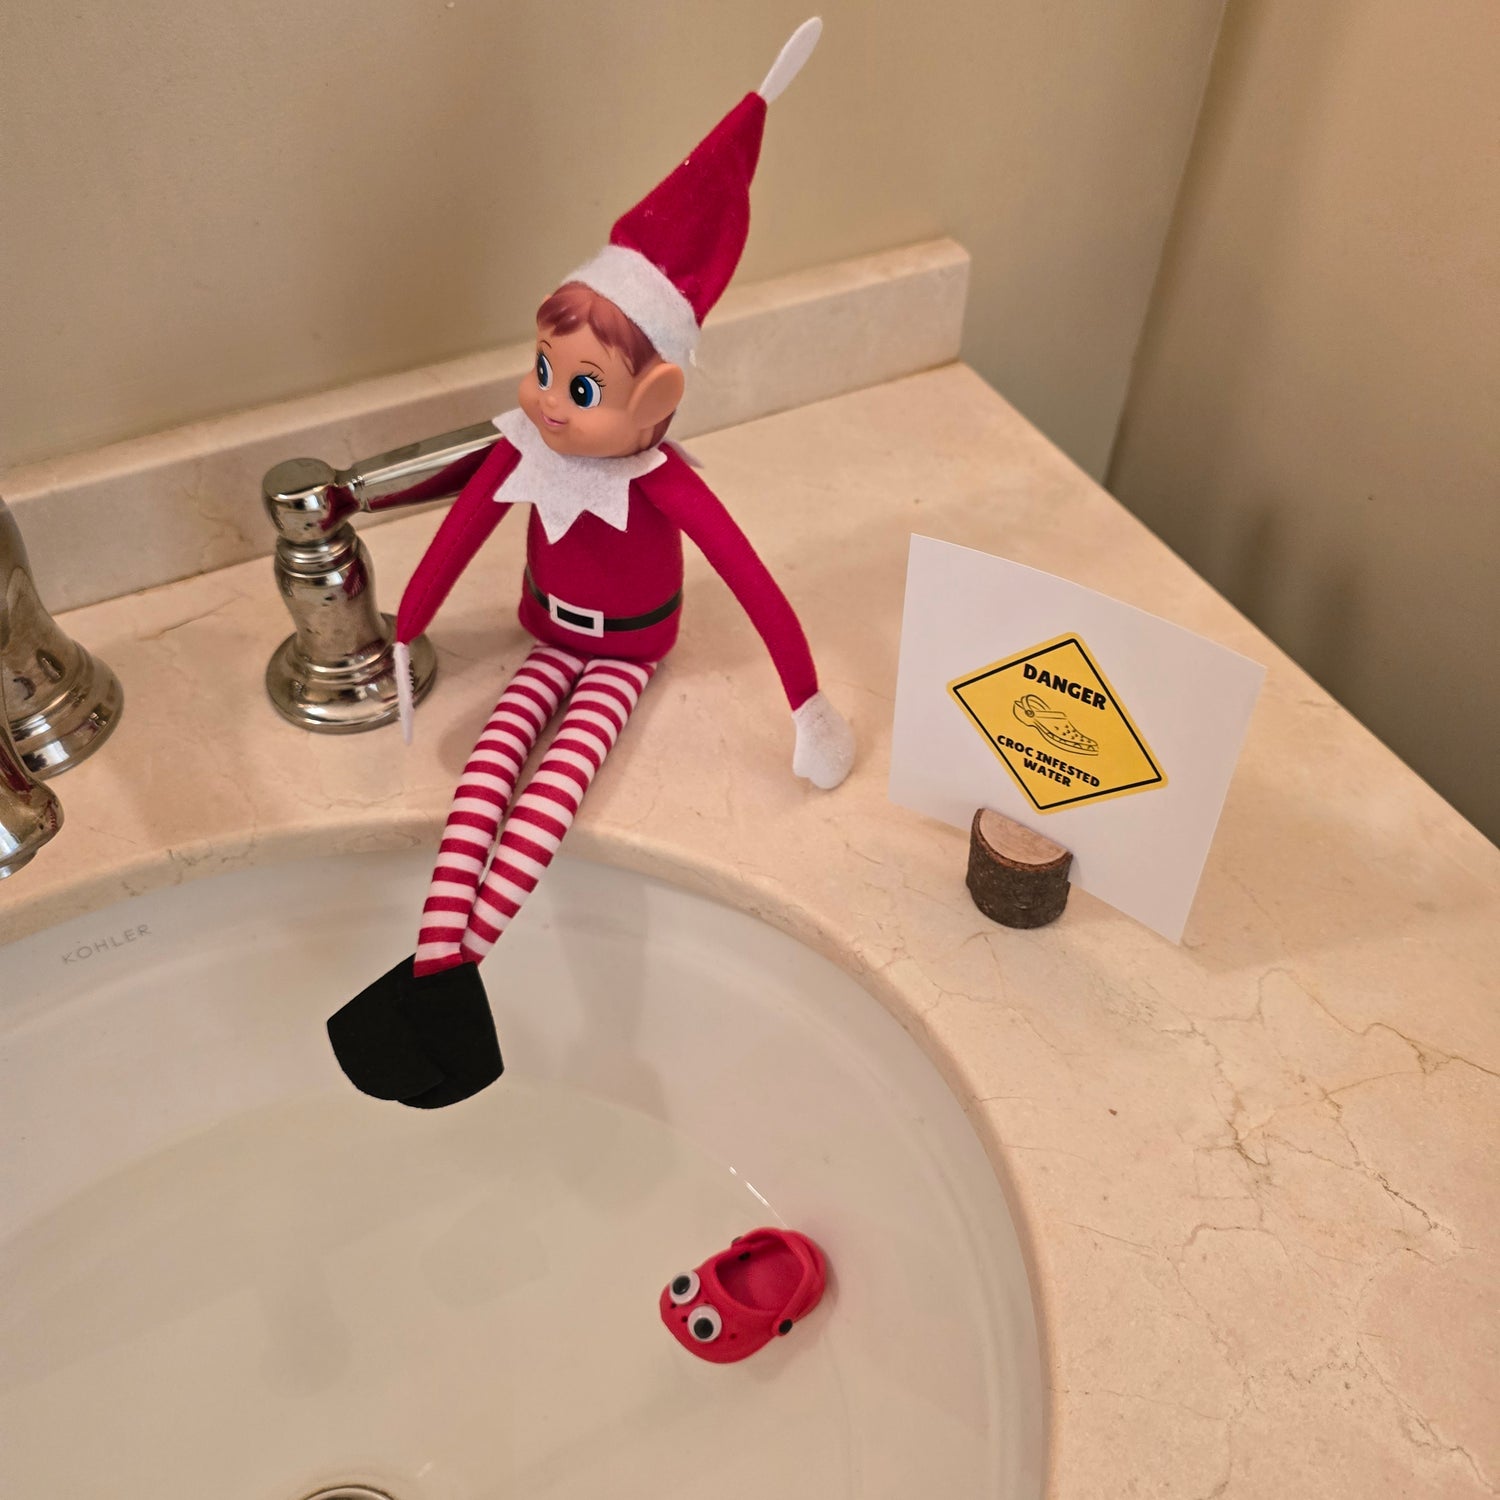
CROC INFESTED WATER
Day 9
Beware of crocodiles lurking beneath the surface; danger often hides where you least expect it.
Stick the googly eyes to the front of the croc. Fill the kitchen sink, bathroom sink, or a bucket with water, then place the croc in the water.
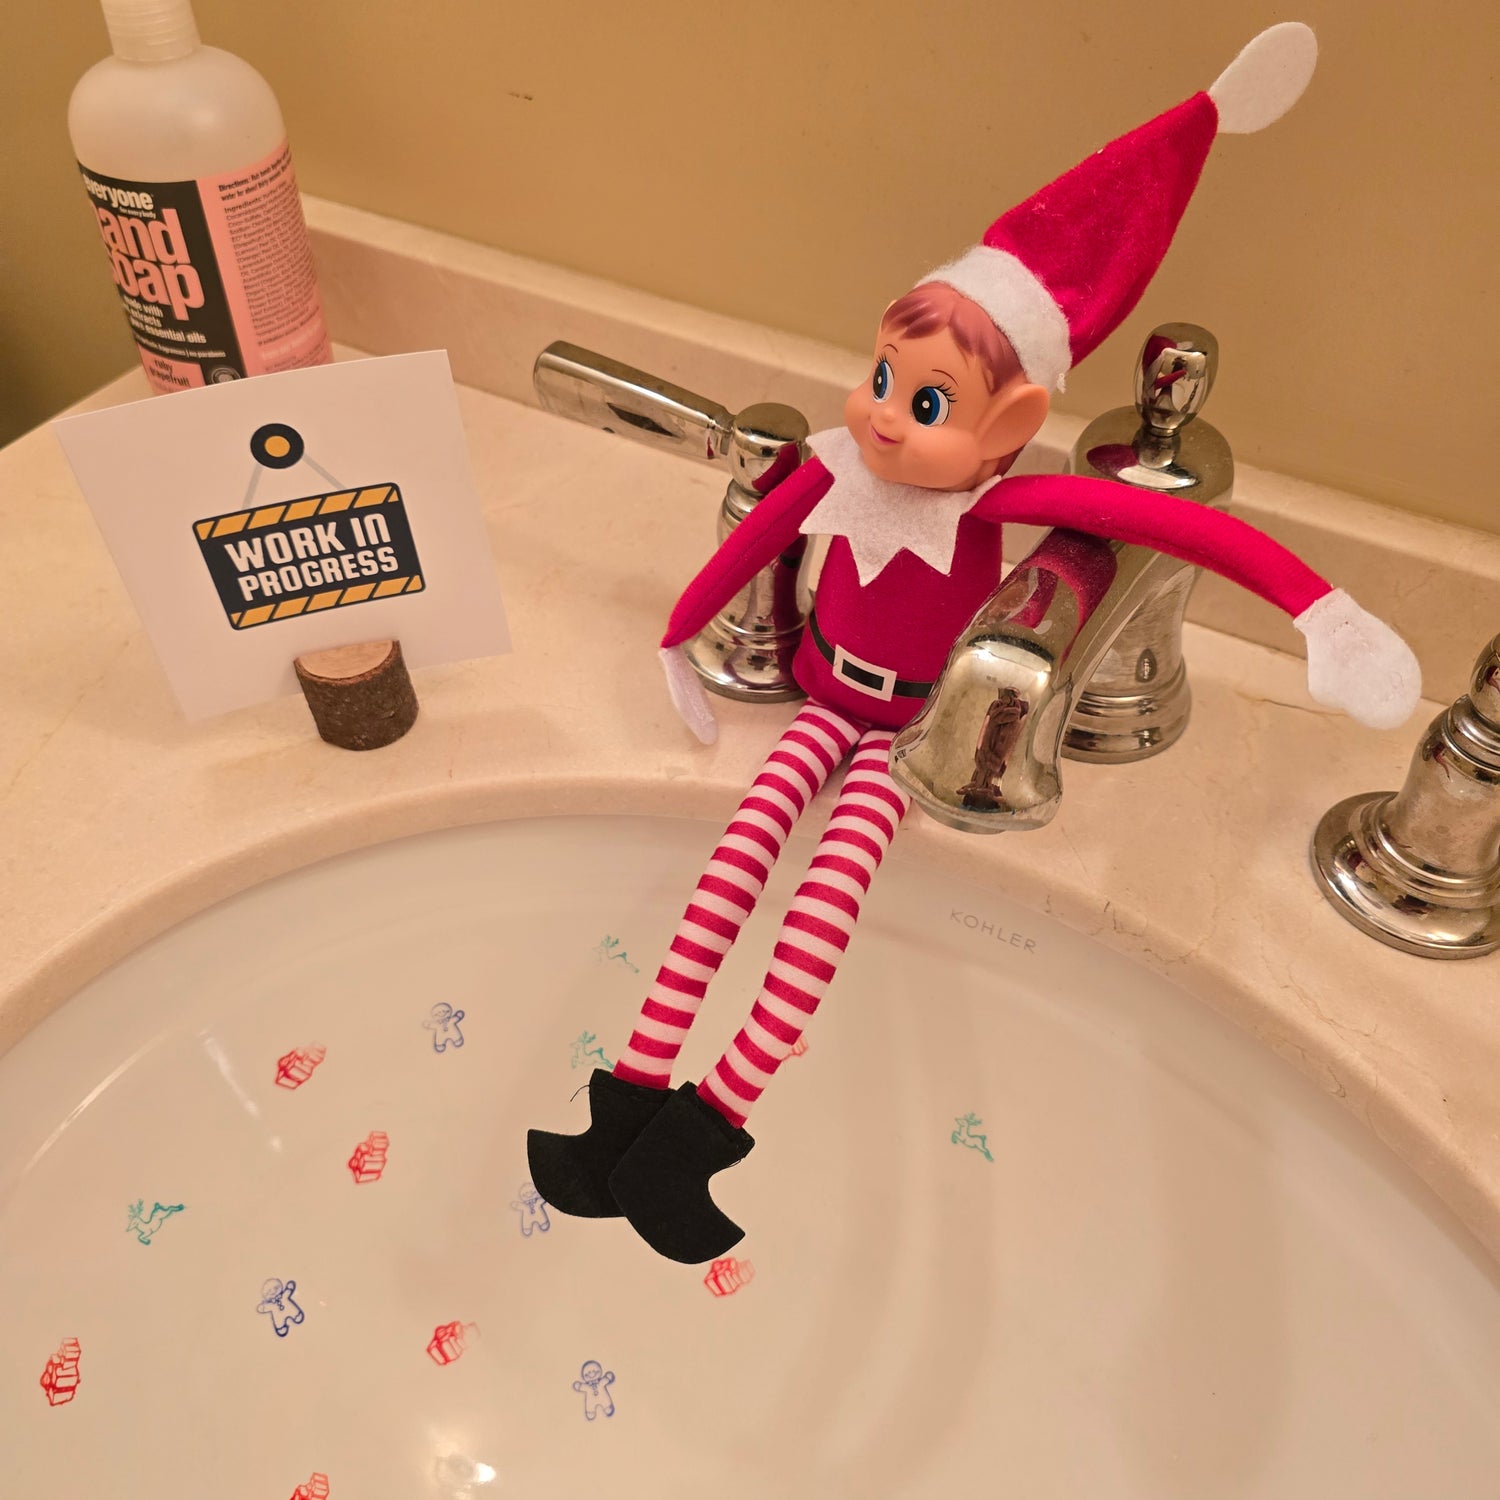
HOLIDAY DECORATION
Day 10
The elf joyfully stamping holiday cheer around the house!
Stamp designs onto the toilet paper roll as if the elf is decorating it for the holiday. Lay the elf by the toilet paper roll.
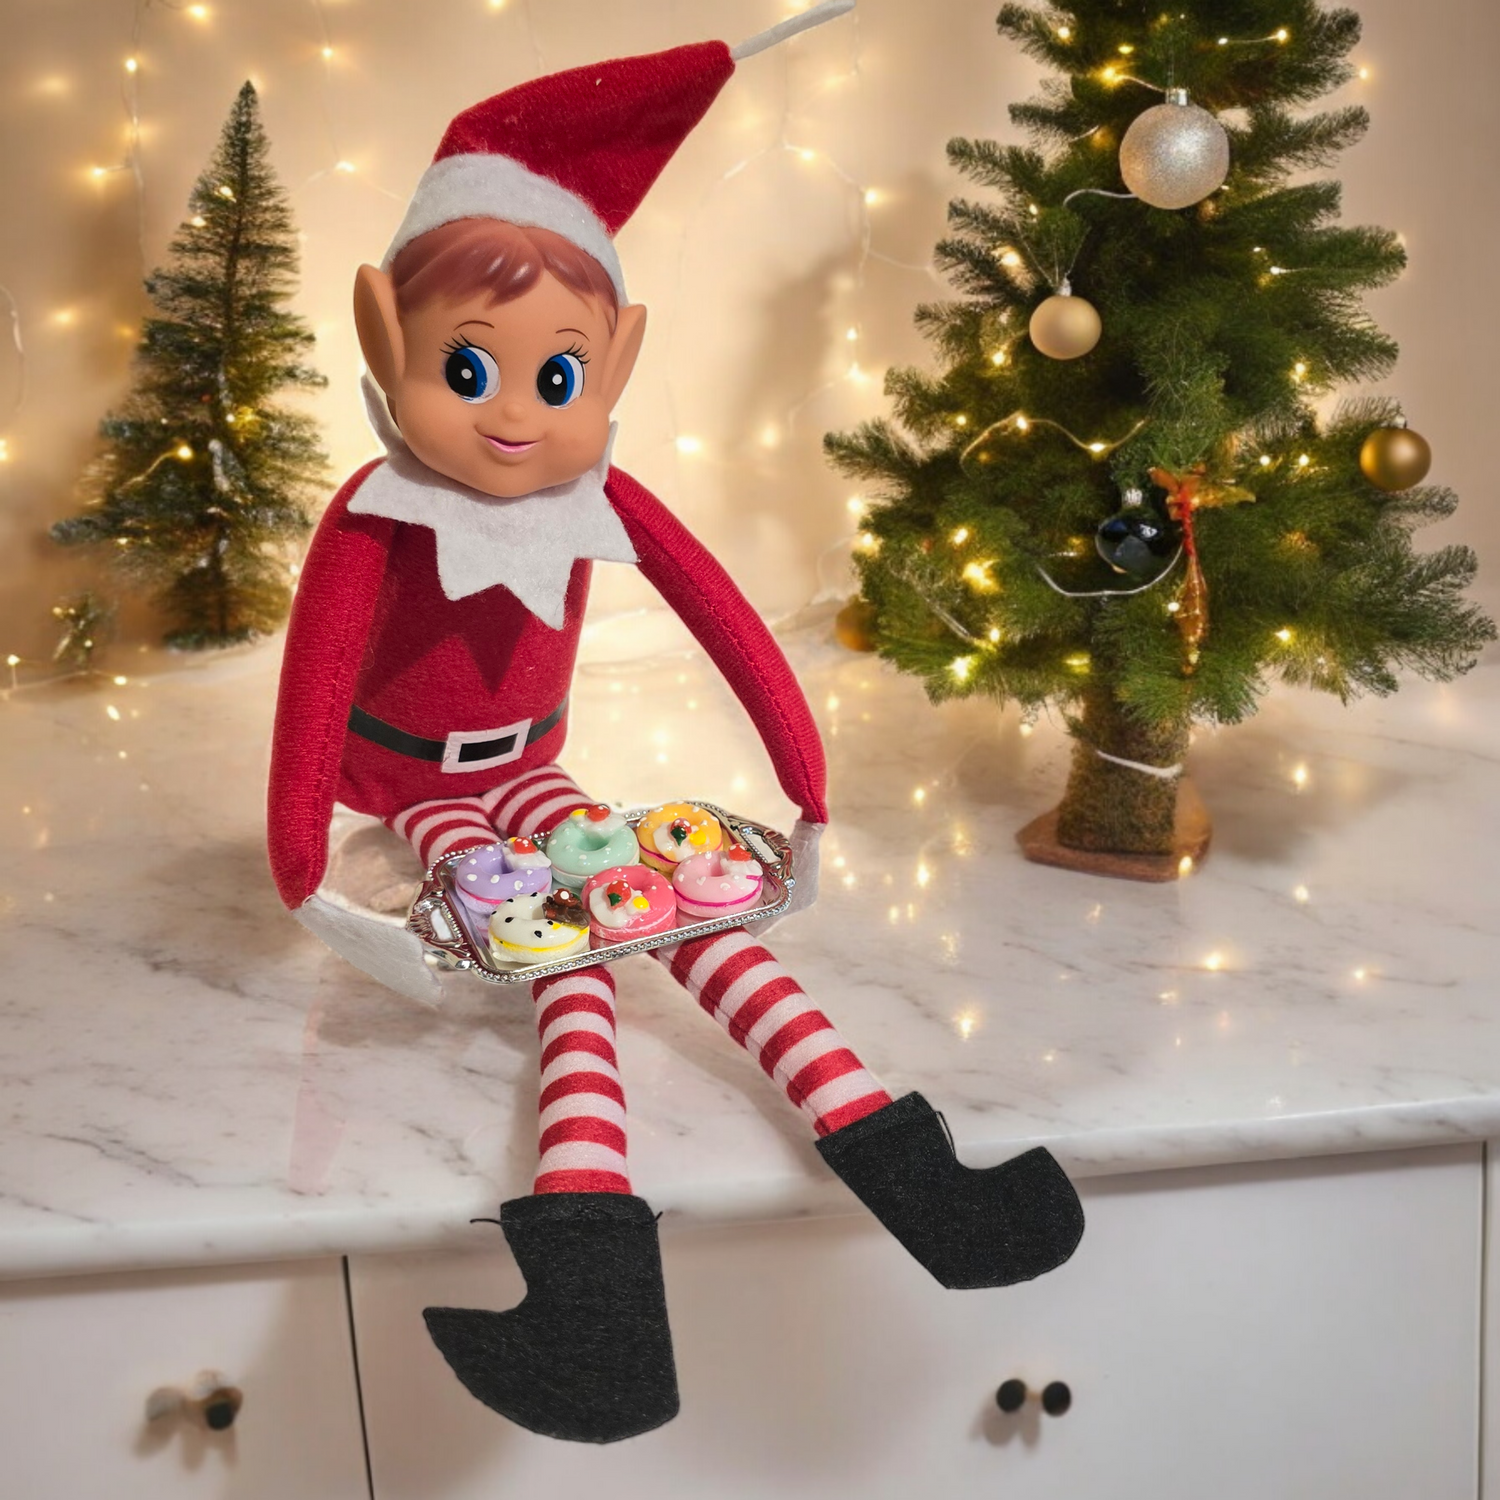
DONUTS ANYONE?
Day 11
Have the elf hold one or two of the donuts, using glue dots if needed. Keep the remaining donuts on the platter next to the elf or on his lap.
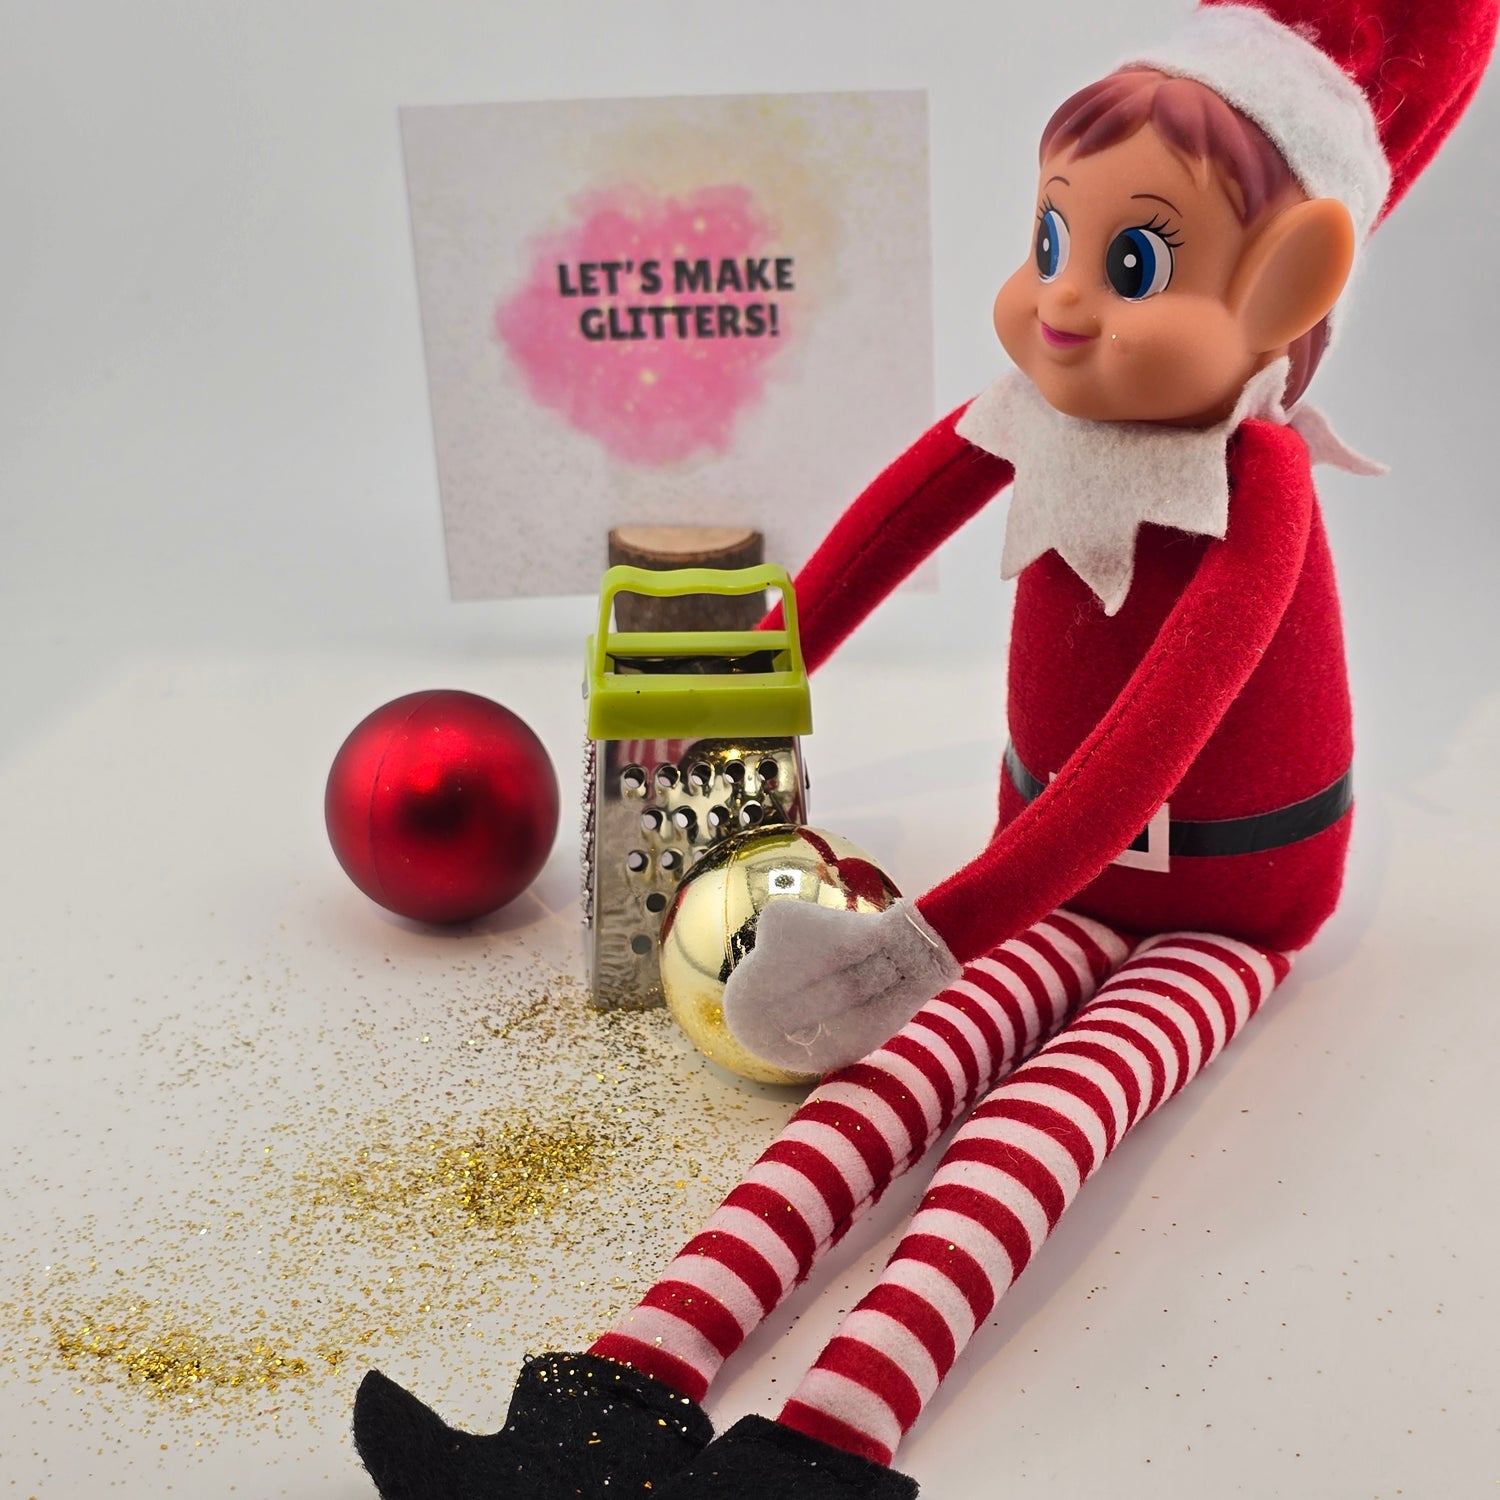
GLITTER MACHINE
Day 12
Ornaments magically transform into sparkling wonders under the elf’s touch.
Sprinkle some glitter around the grater. Use a glue dot to attach an ornament to the elf's hand, and position the grater behind the ornament as if he's grating it to create the glitter.

TENNIS
Day 13
The backpack can be placed on the elf with the tennis racket sticking out. Have the elf hold the tennis ball, using glue dots to help secure it.
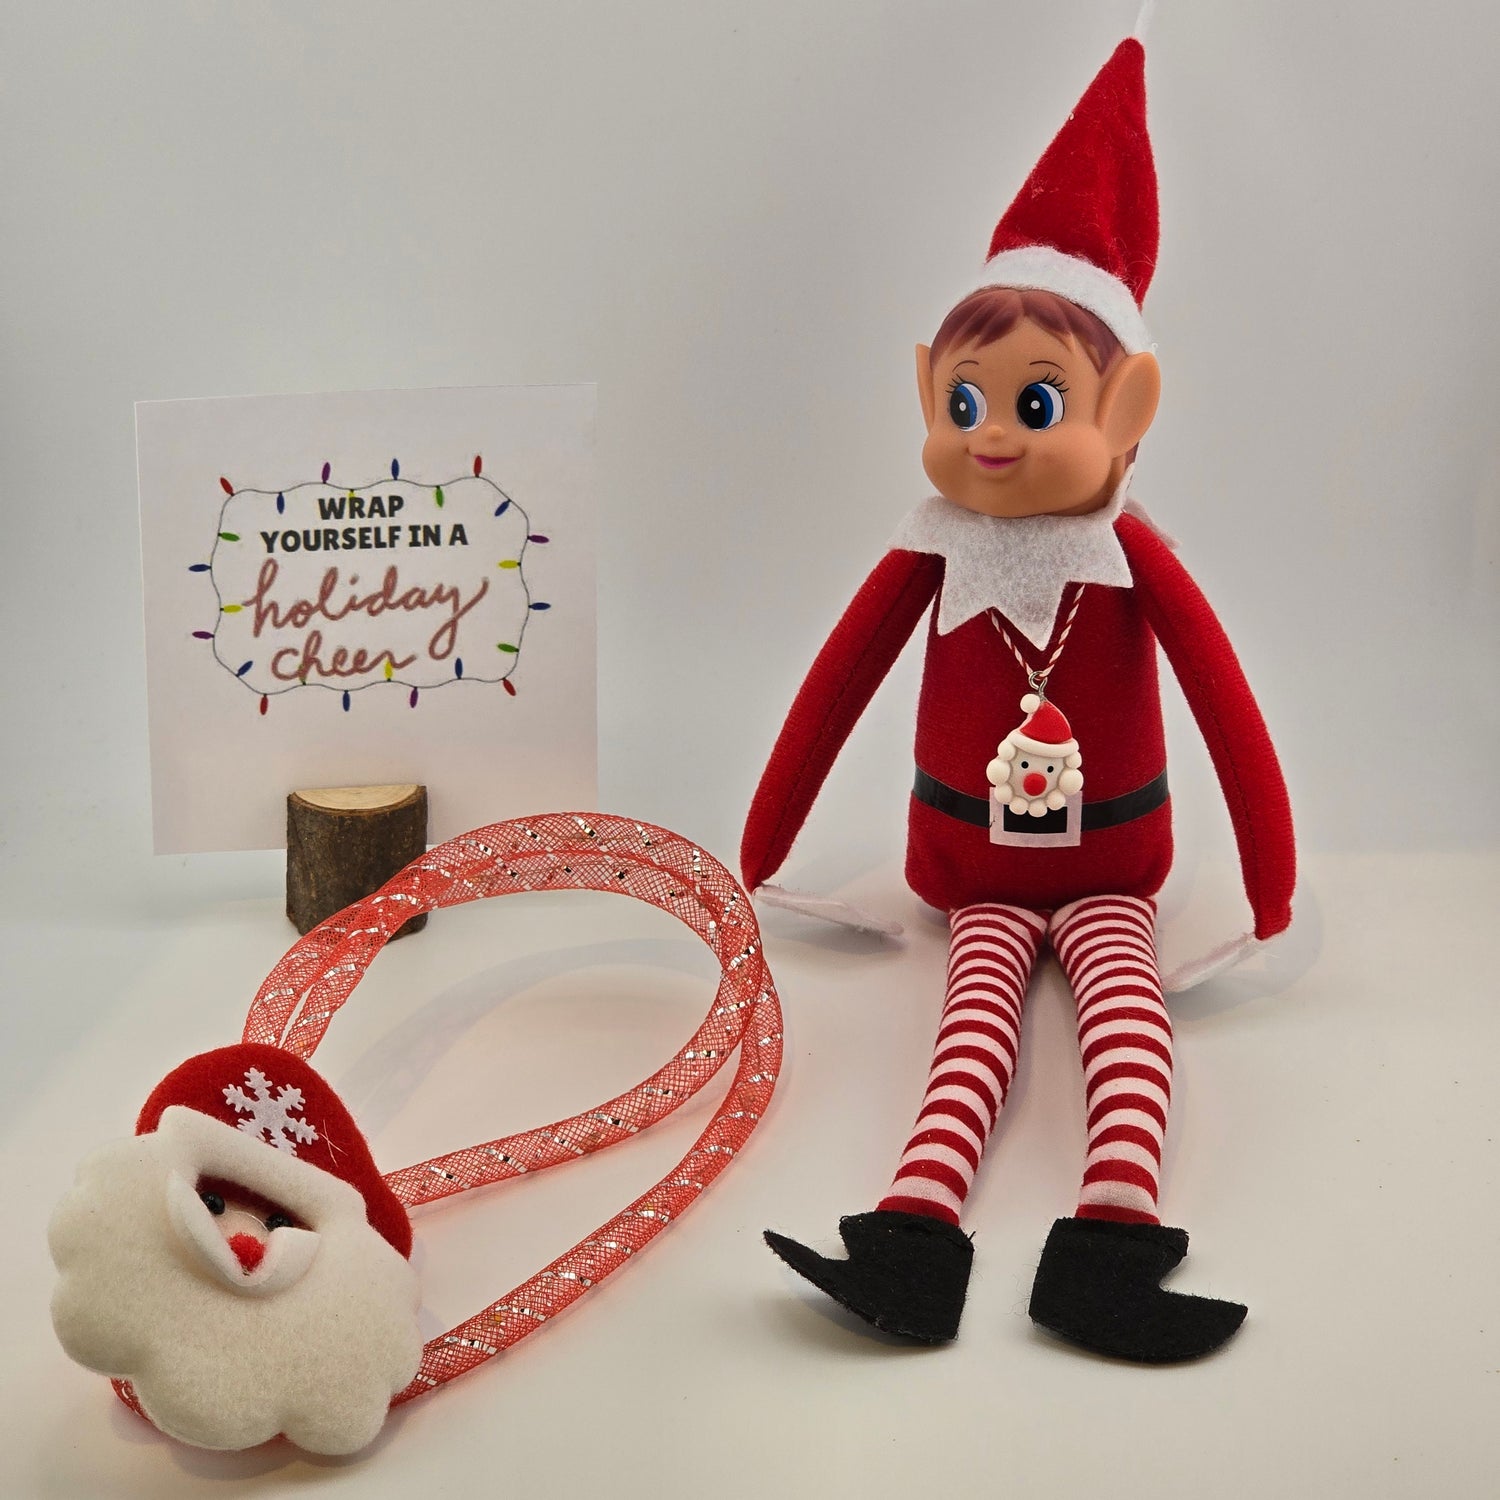
NEW NECKLACE
Day 14
Remove the paper tab from the LED necklace by pulling it out, then press the button to activate the lights.

SNOWMAN
Day 15
Assemble the snowman halfway.
Caution: small parts
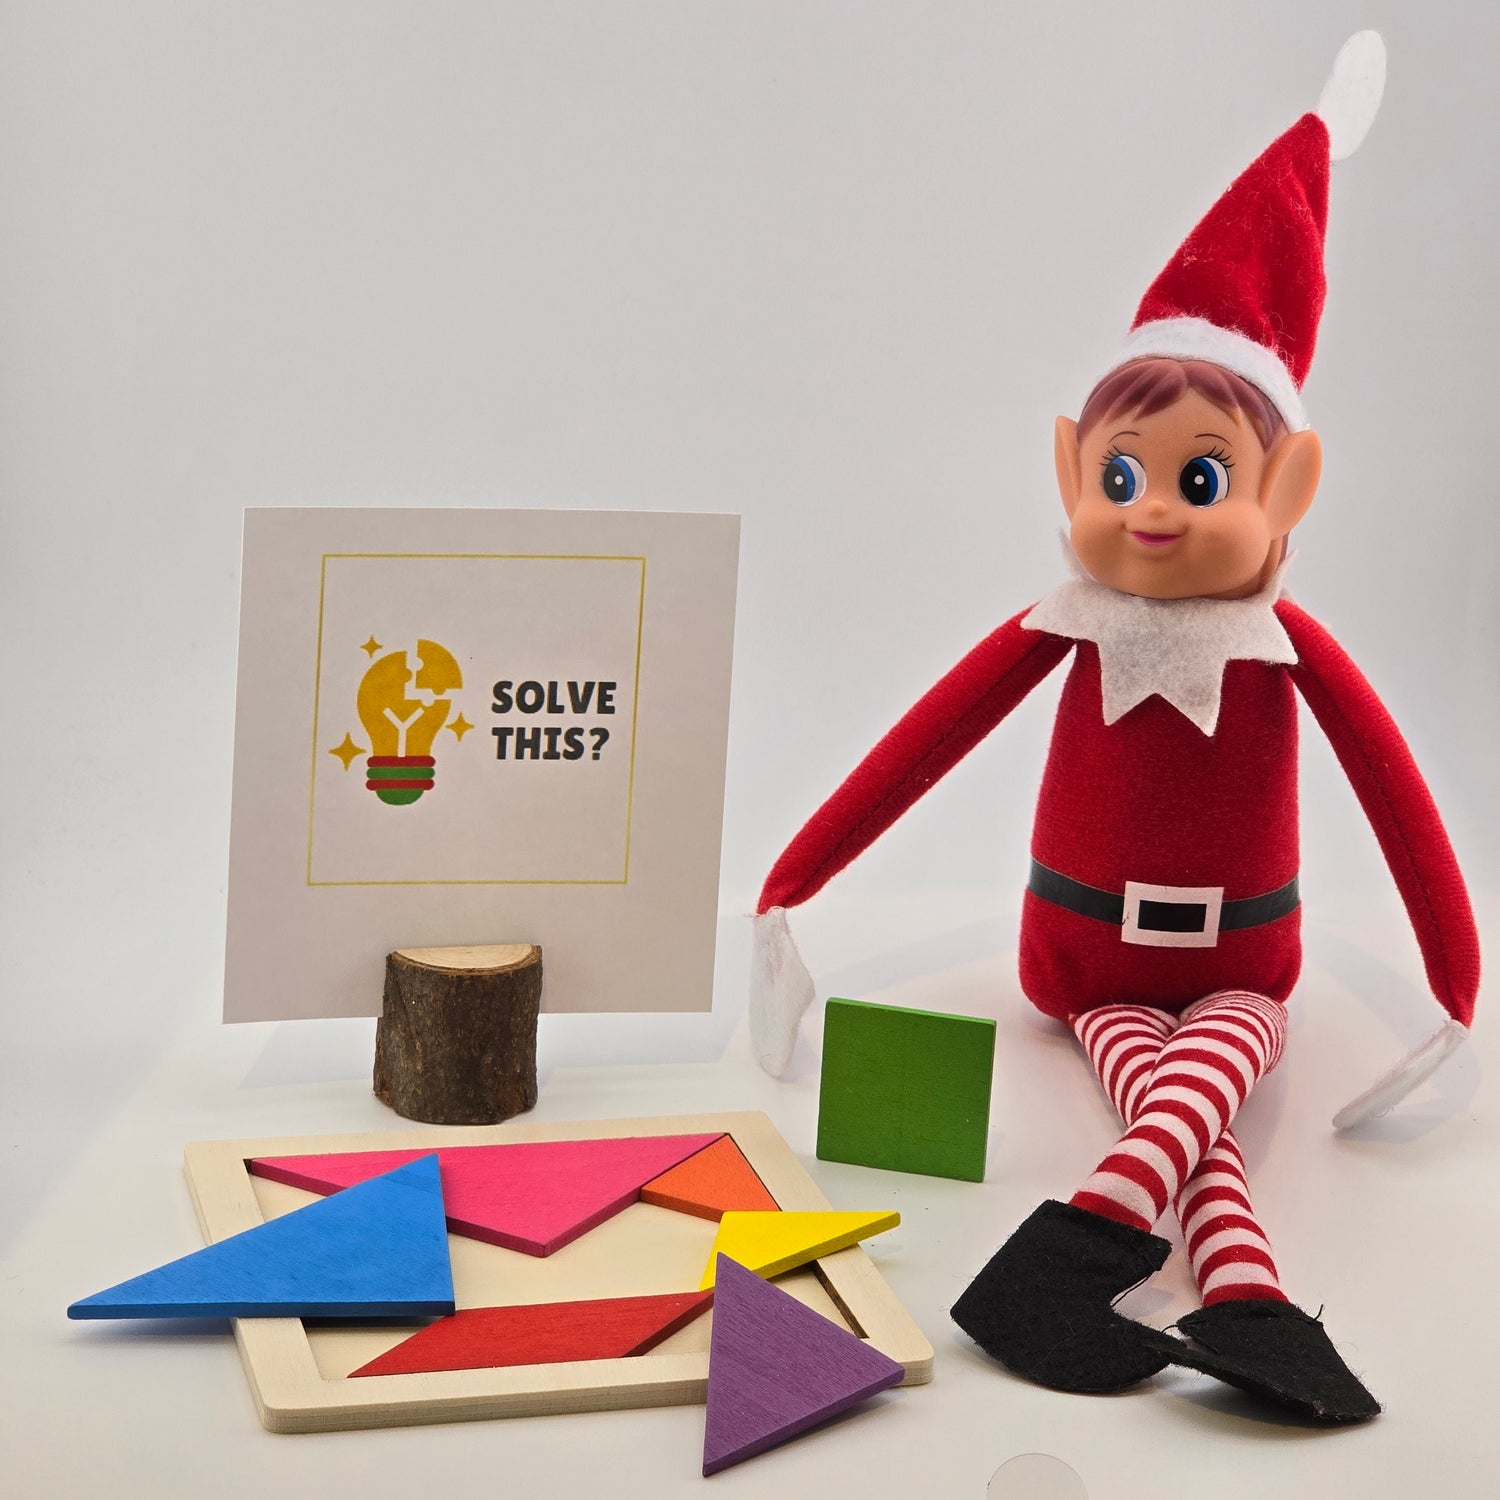
PUZZLE
Day 16
Take a photo of the completed puzzle with your phone before you mix it up. Use the photo as a reference if you need help reconstructing it.
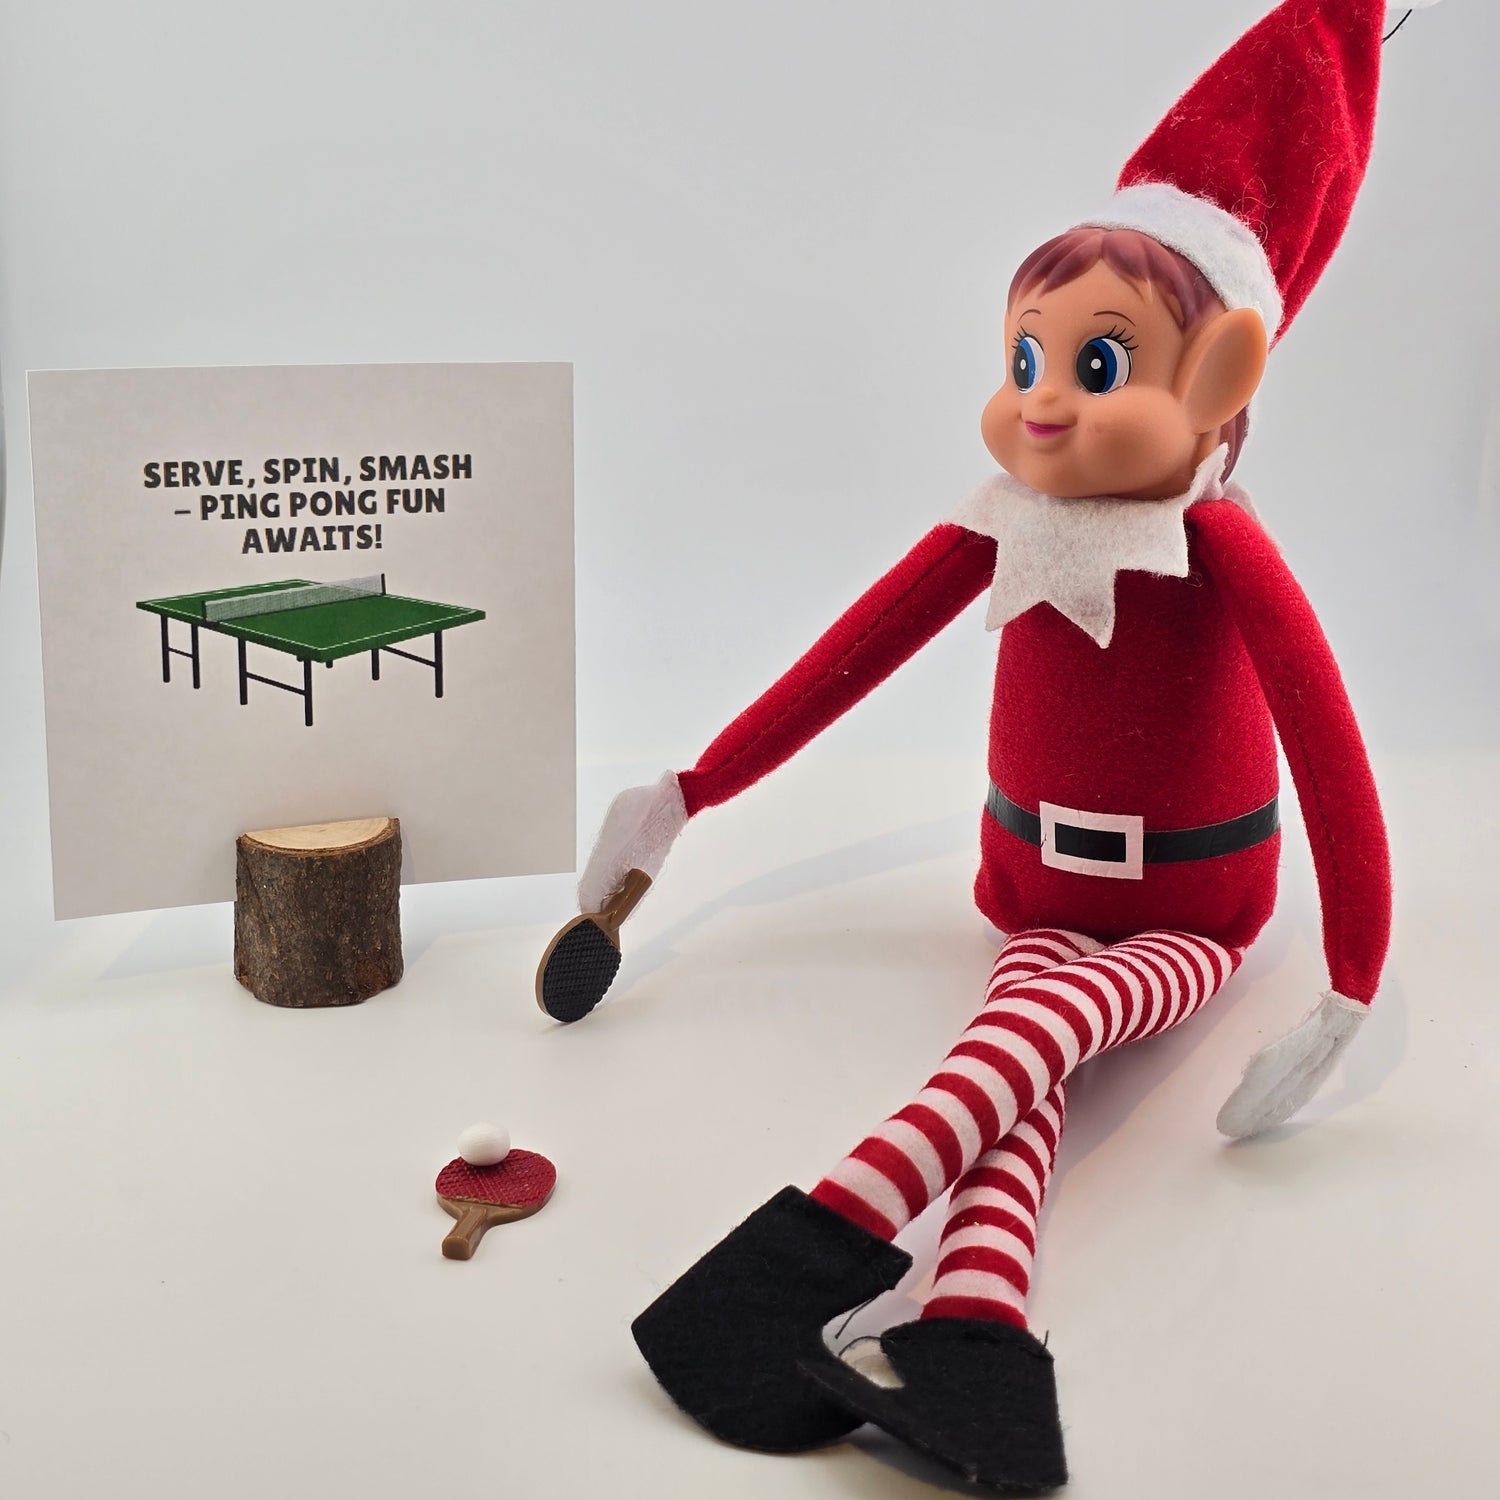
TABLE TENNIS
Day 17
Stick the paddle to the elf's hand using the provided glue dot.
Optional: Give the other paddle to an elf friend (such as dolls or figurines). You can use a ruler as a net.
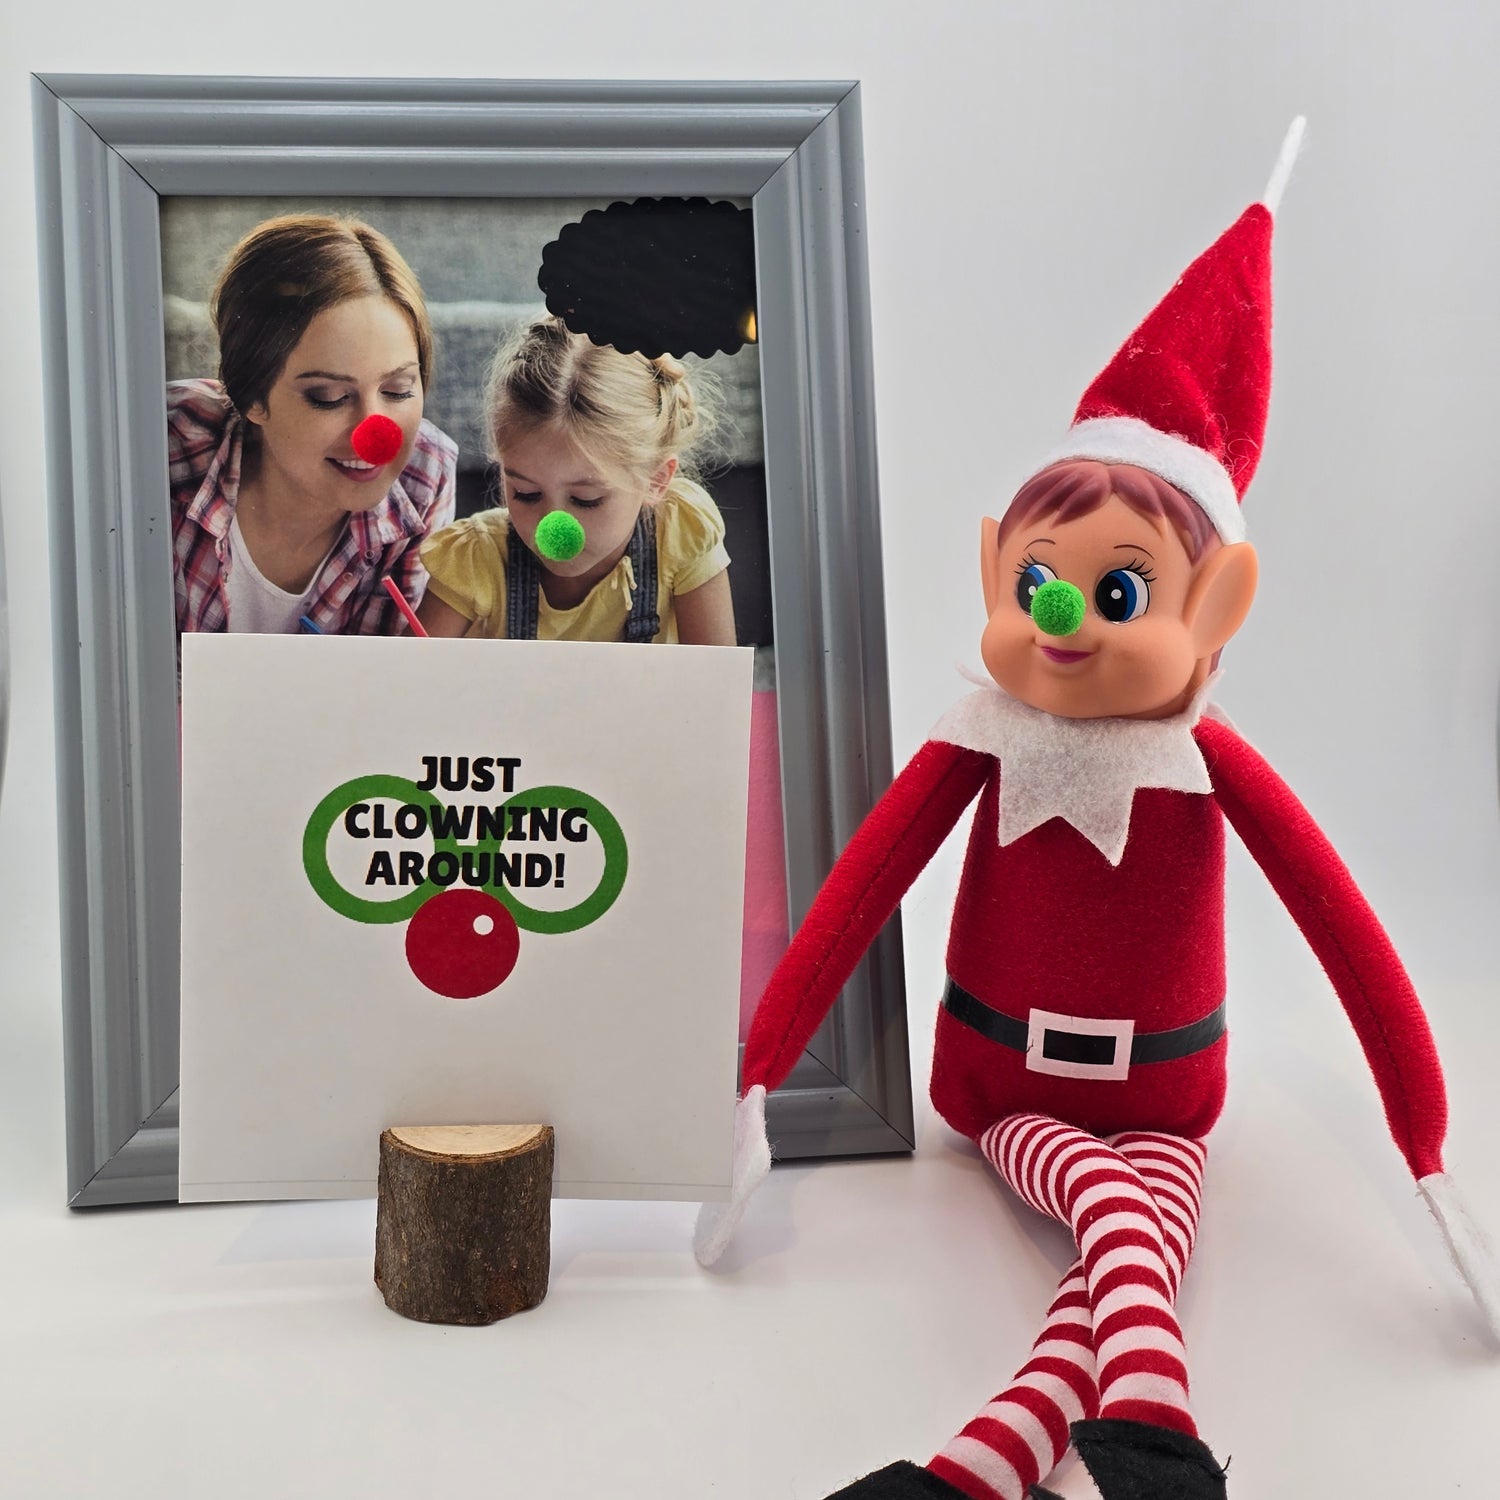
CLOWING AROUND
Day 18
Clowning Around Zone: Enter at Your Own Risk of Laughter and Fun!
Stick a pom-pom to the elf's nose. Then, place a pom-pom on the nose of each person in a family photo displayed in the home.

ART AUCTION
Day 19
Position one of the paintings on the easel and place the other paintings next to the elf.
SPIDER
Day 20
The elf has found himself in a bit of a pickle.
Tie one end of the twine to a rubber band and then attach it to the spider toy. Wrap the other end of the twine around the elf several times.
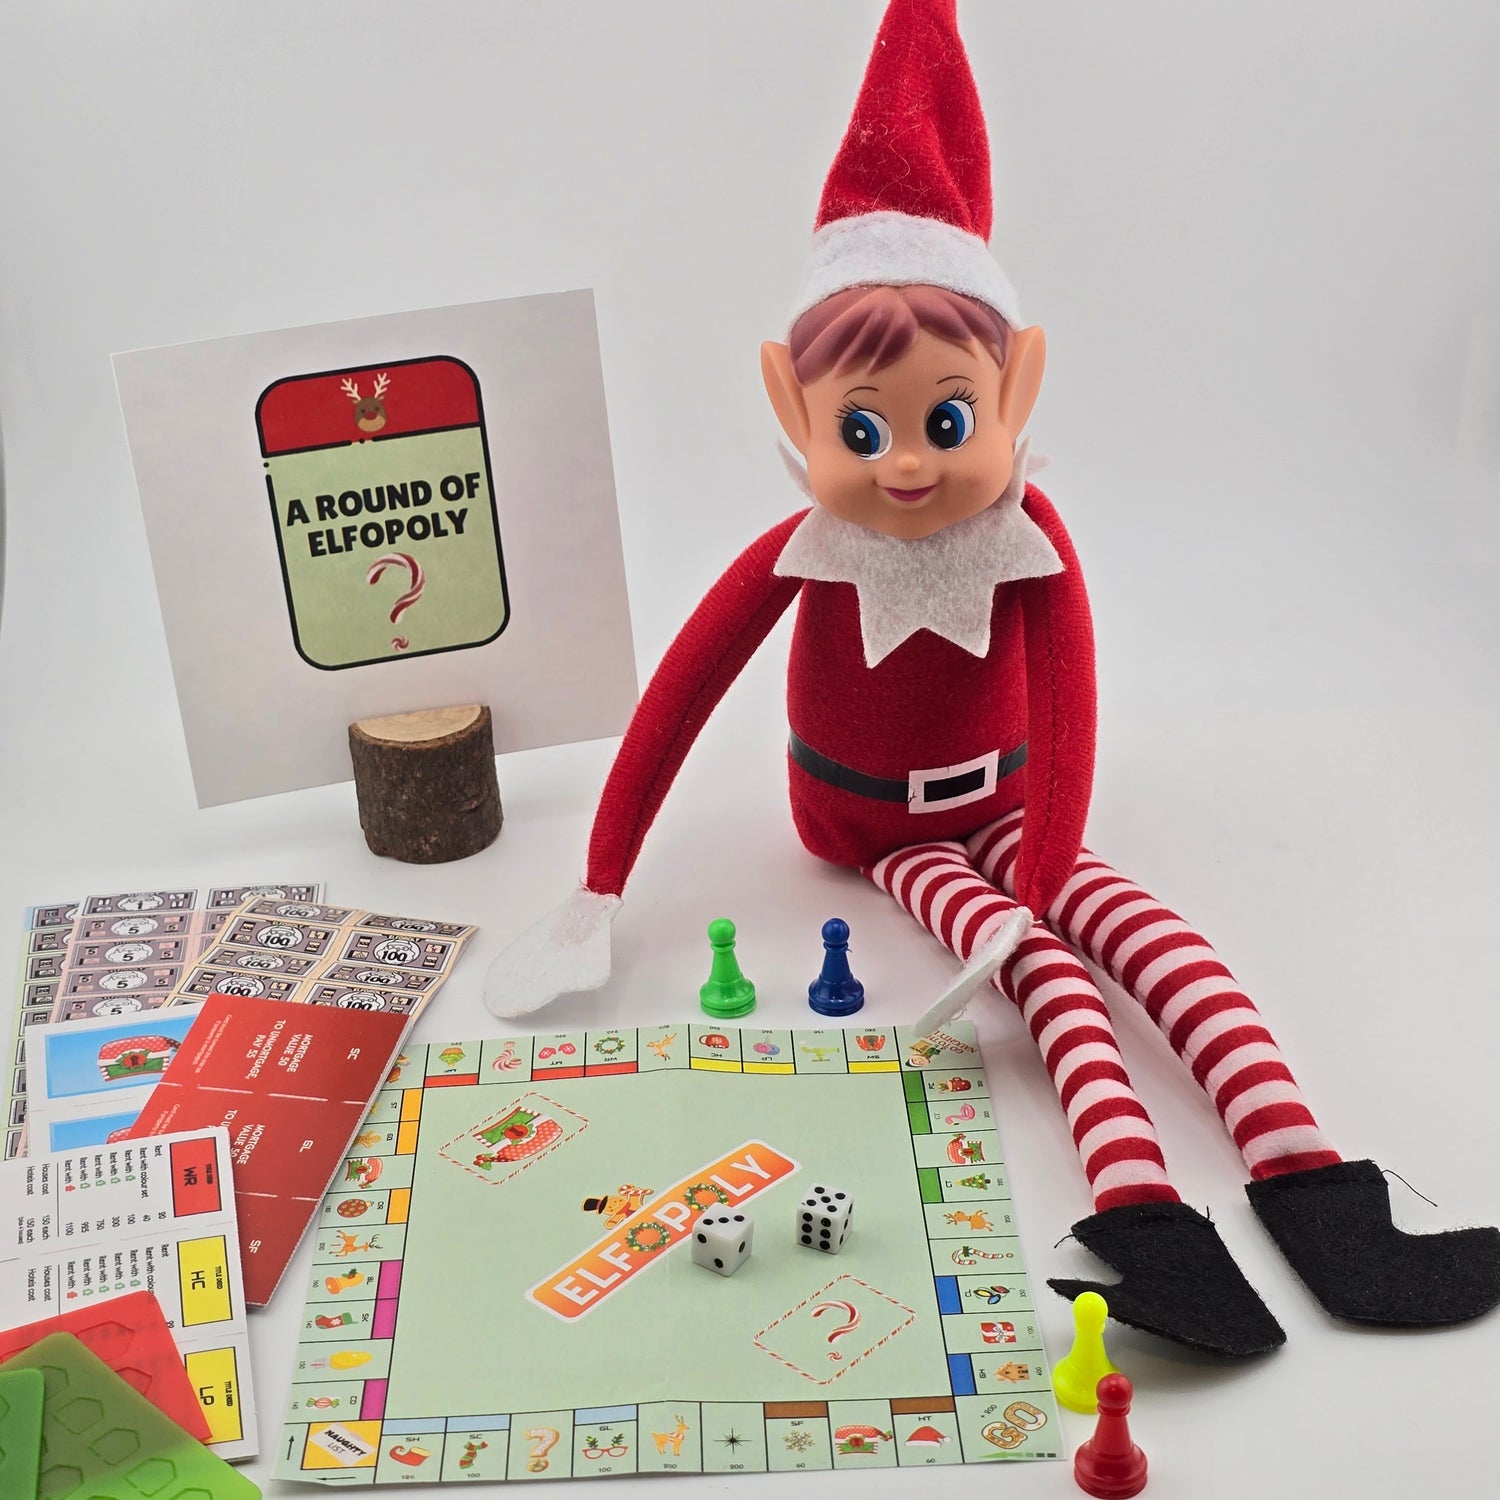
ELFOPOLY
Day 21
This is also a playable Elf-opoly game, complete with an instruction sheet. Recommended for ages 7 and up.
Use a scissor to cut the cards (instead of tearing it), this will create a clean edge.
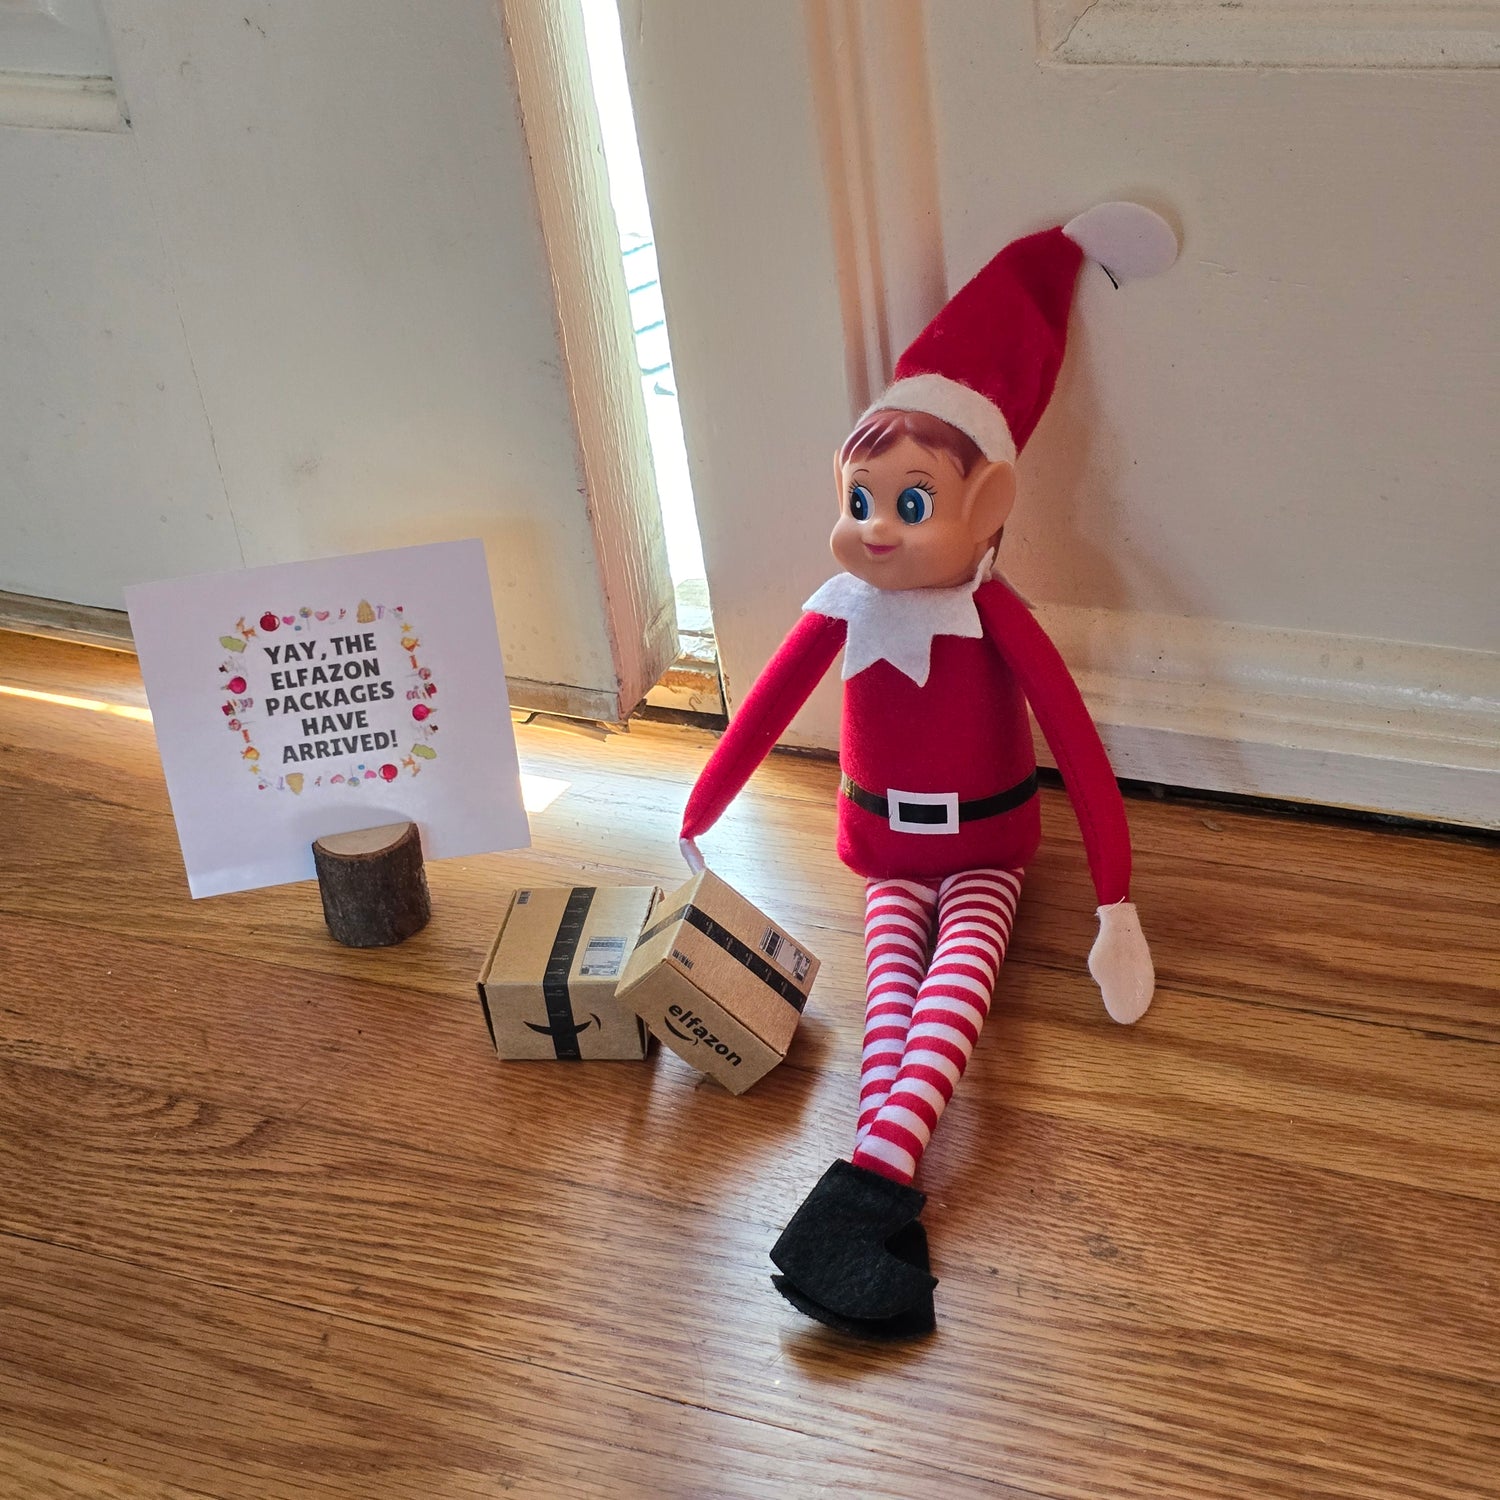
ELFAZON
Day 22
Start by folding the two long sides and then the two short sides of the flat box upwards along the pre-scored lines.
Tuck the end flaps into place to lock them, ensuring the box is stable and properly assembled.
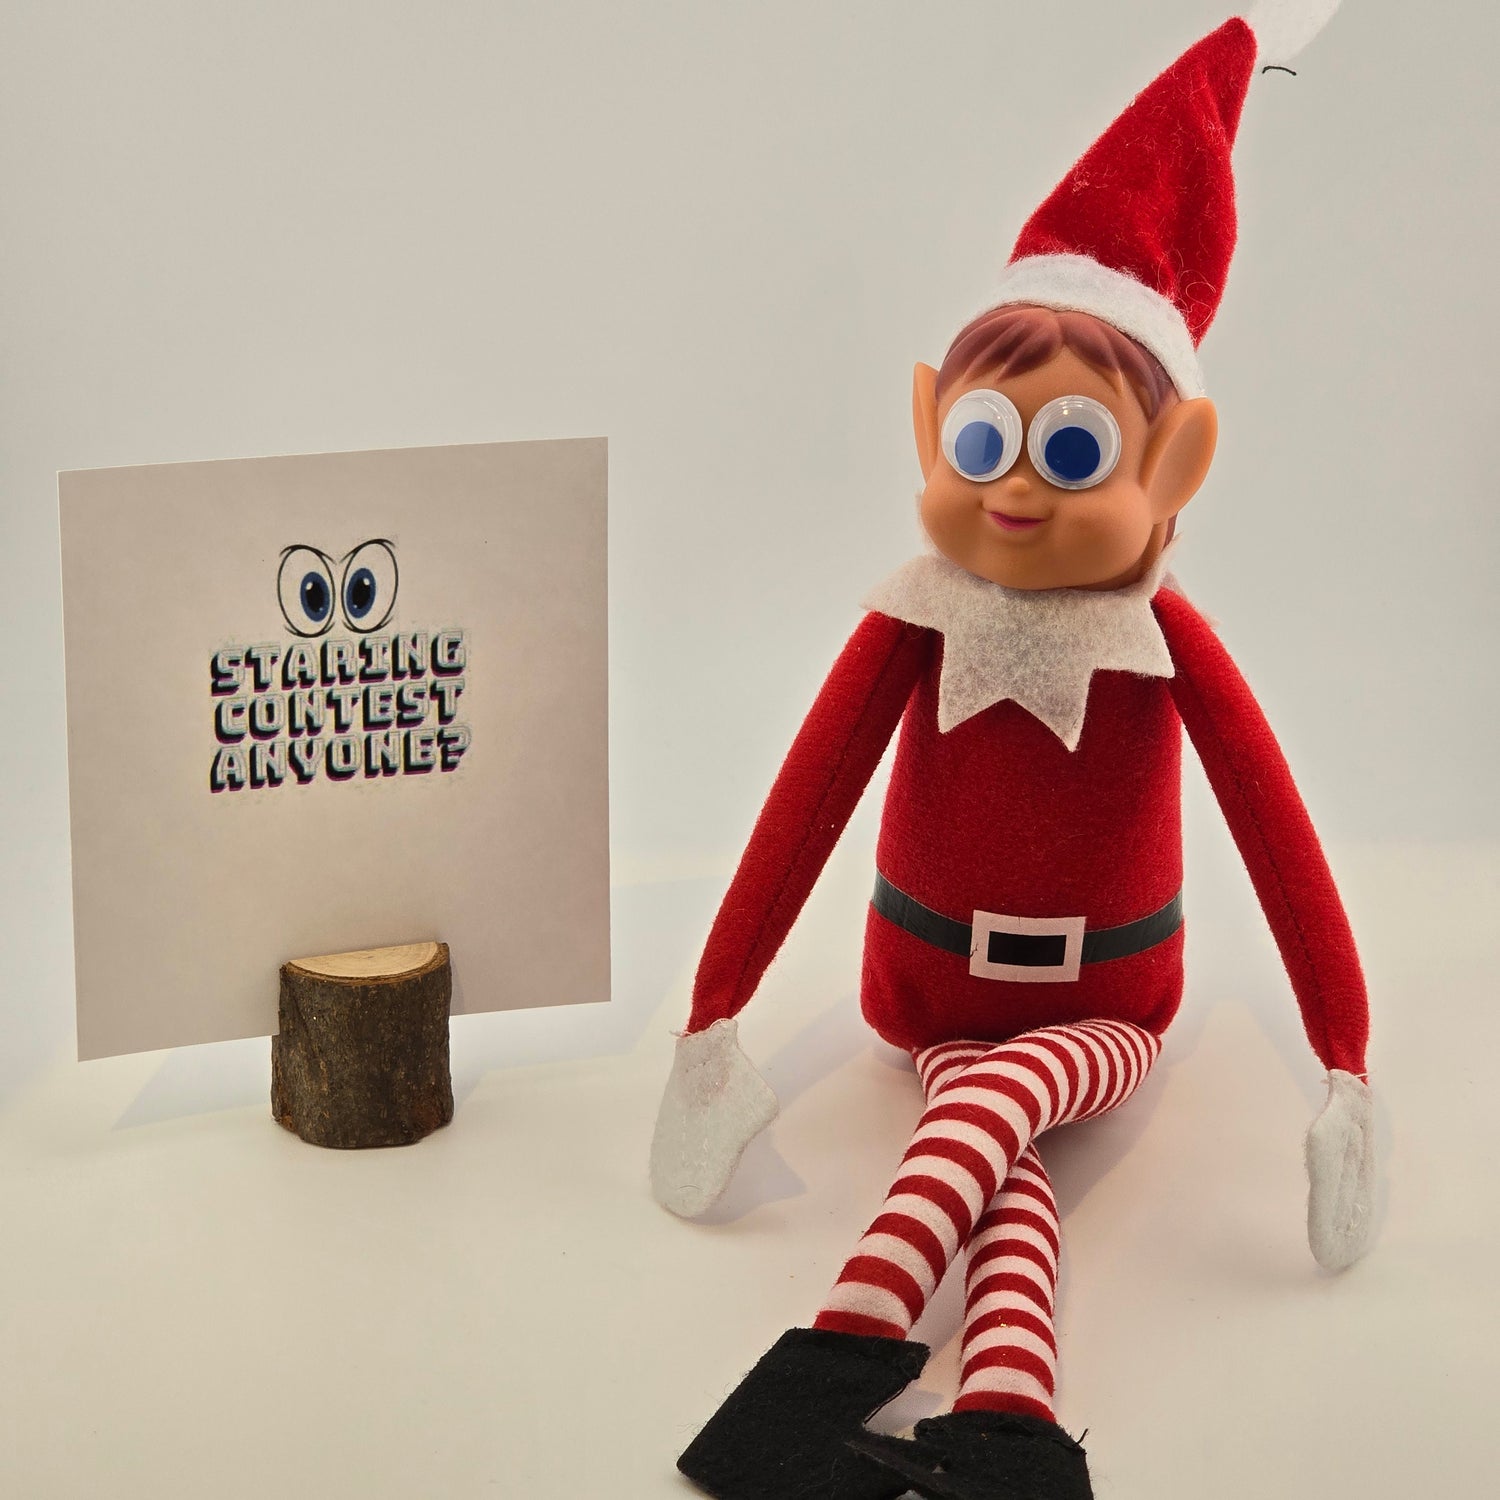
STARING CONTEST
Day 23
N/A
MEMORY TEST
Day 24
N/A

CAMPING
Day 25
N/A
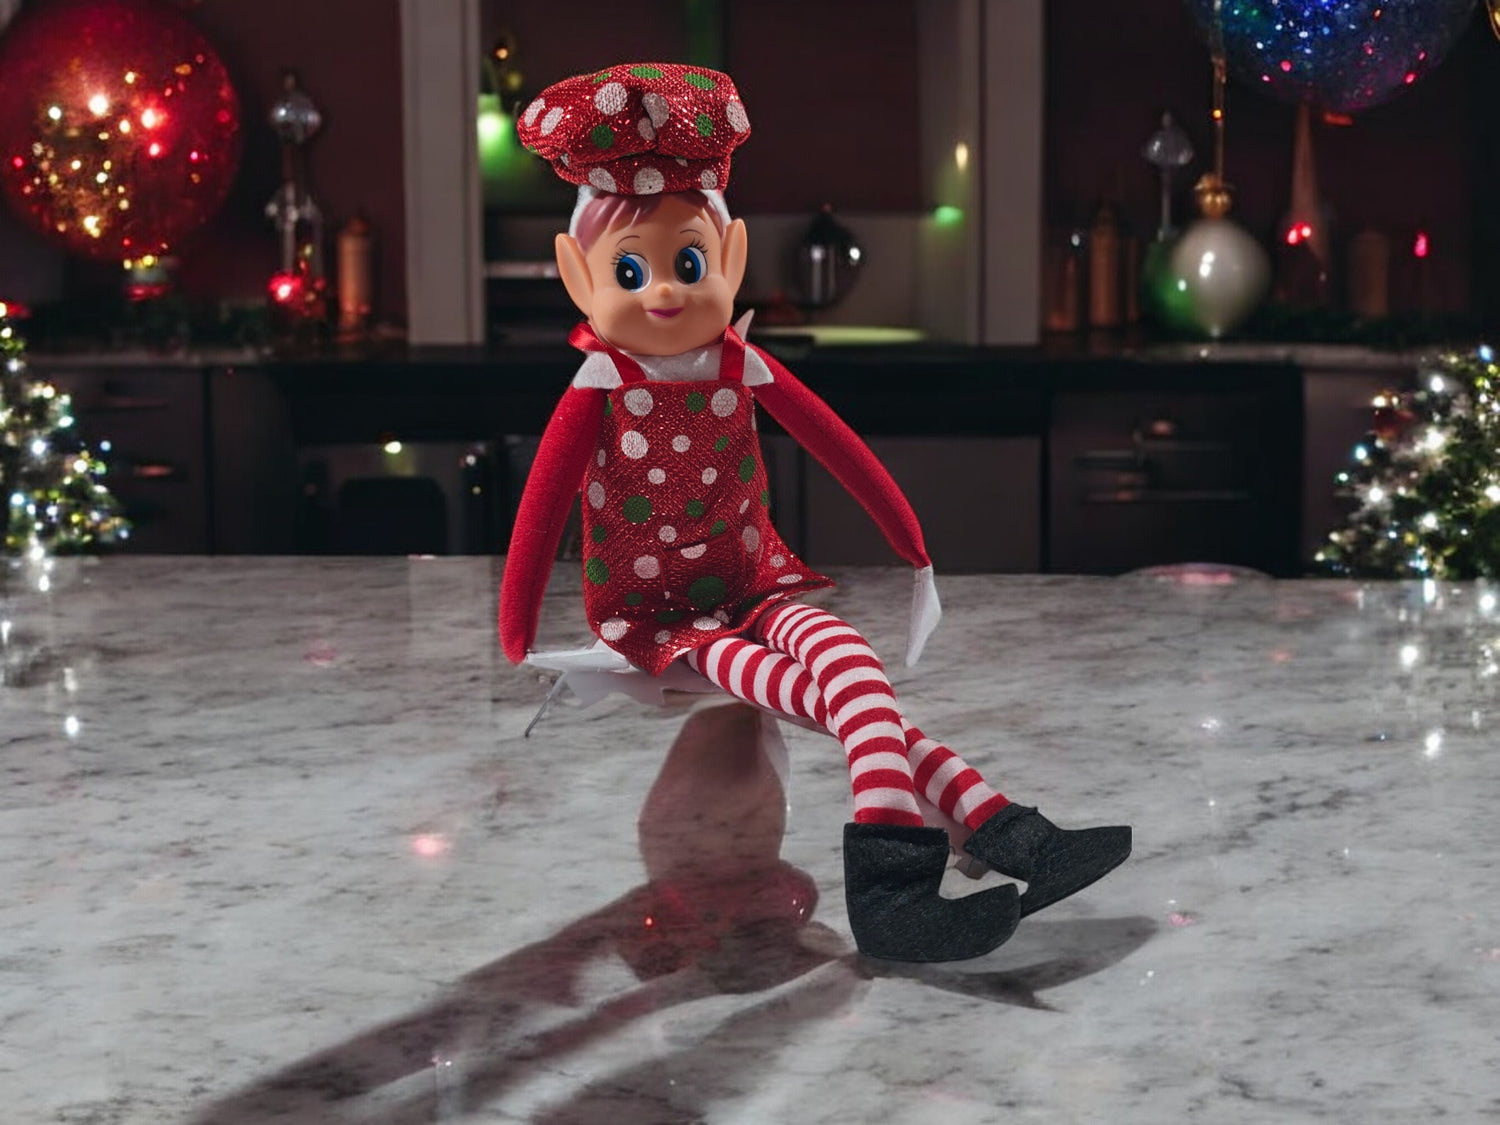
NEW APRON SET
Day 26
You can use the copper pot from previous day (Day 25) to give the impression that the elf is preparing to cook.
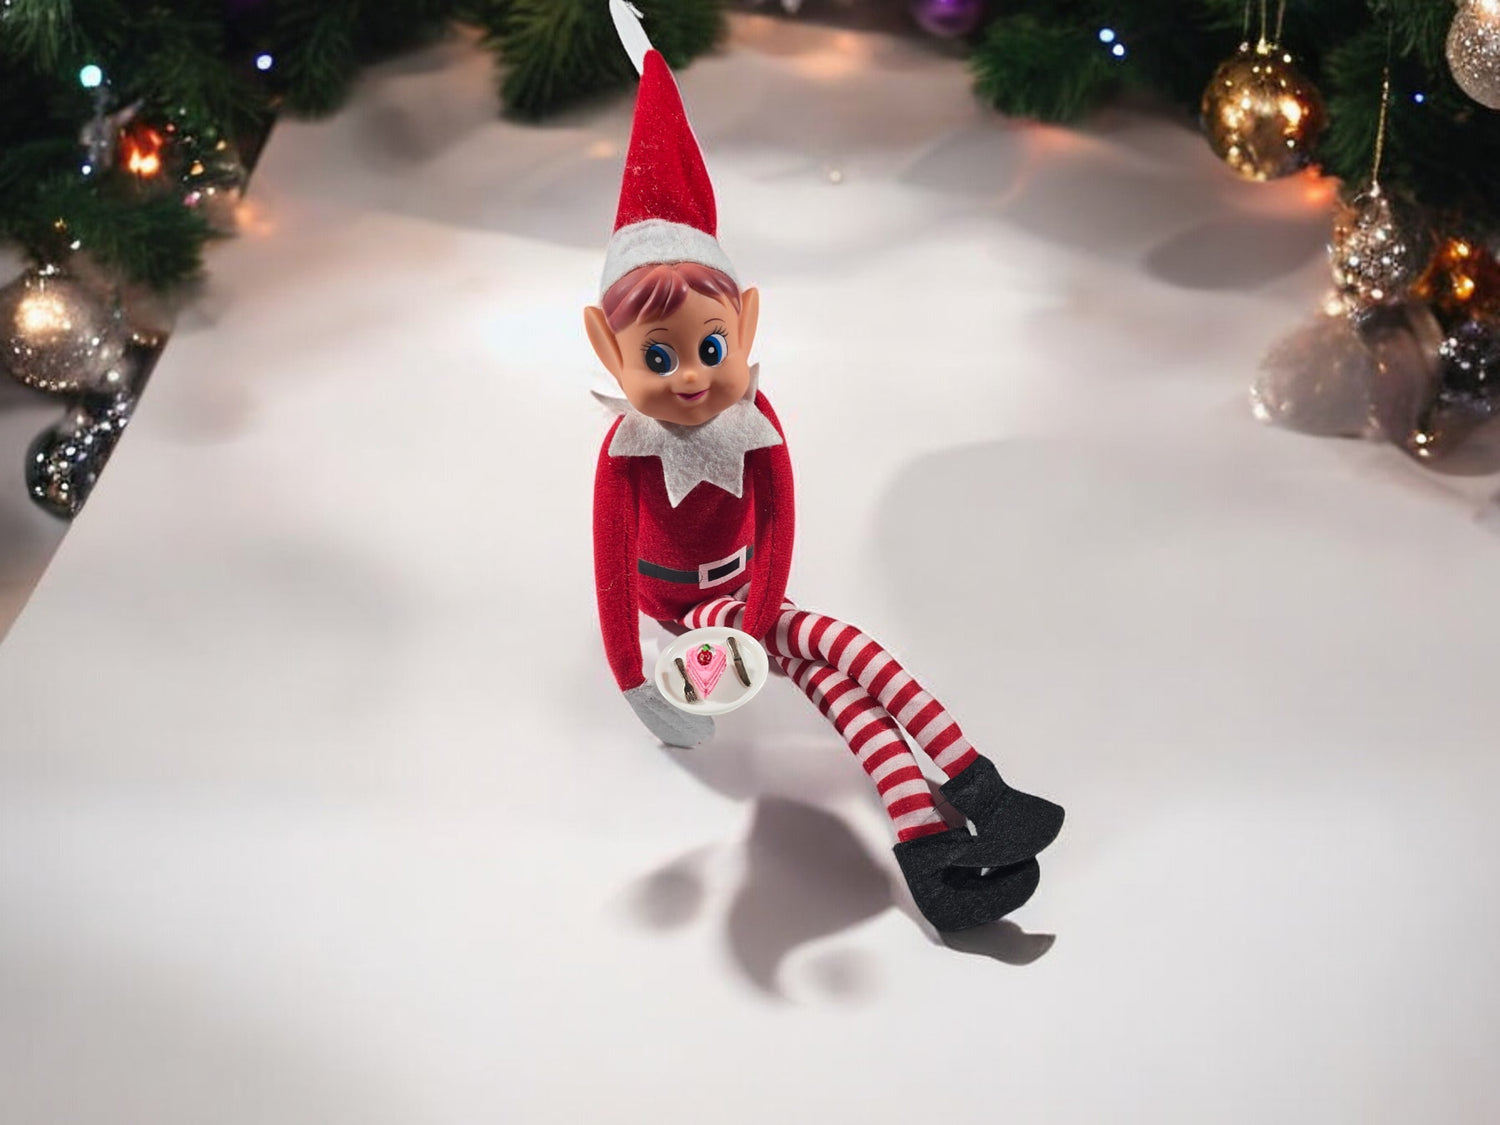
DESSERT TIME
Day 27
You can use the provided glue dot to keep the plate securely in the elf's hand.

LAST MIN SHOPPING
Day 28
You can use the provided glue dot to keep the shopping bag securely in the elf's hand.
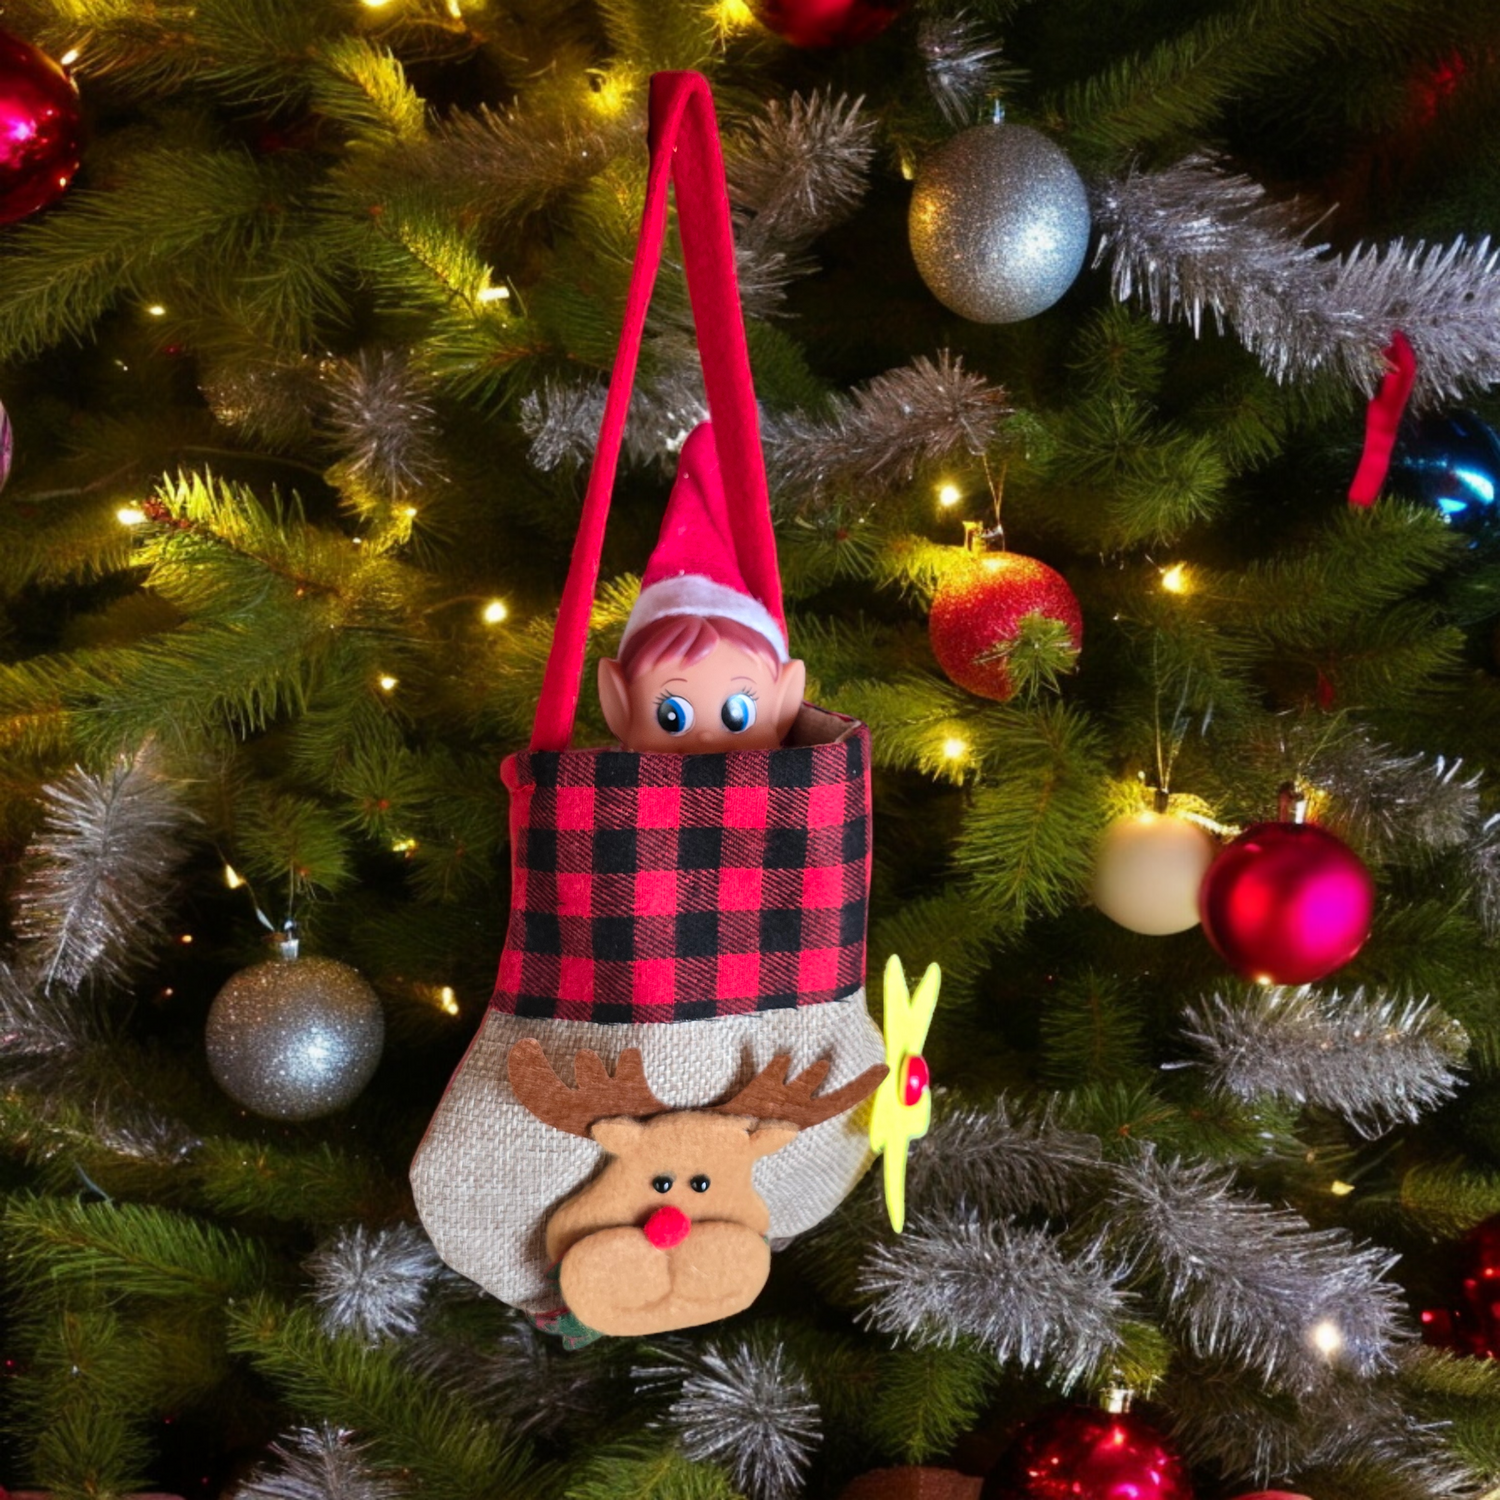
PEEK-A-BOO!
DAY BEFORE LAST DAY (Day 6 • 11 • 23 • 29)
You can hang it on a Christmas tree, mantel, or cabinet door.
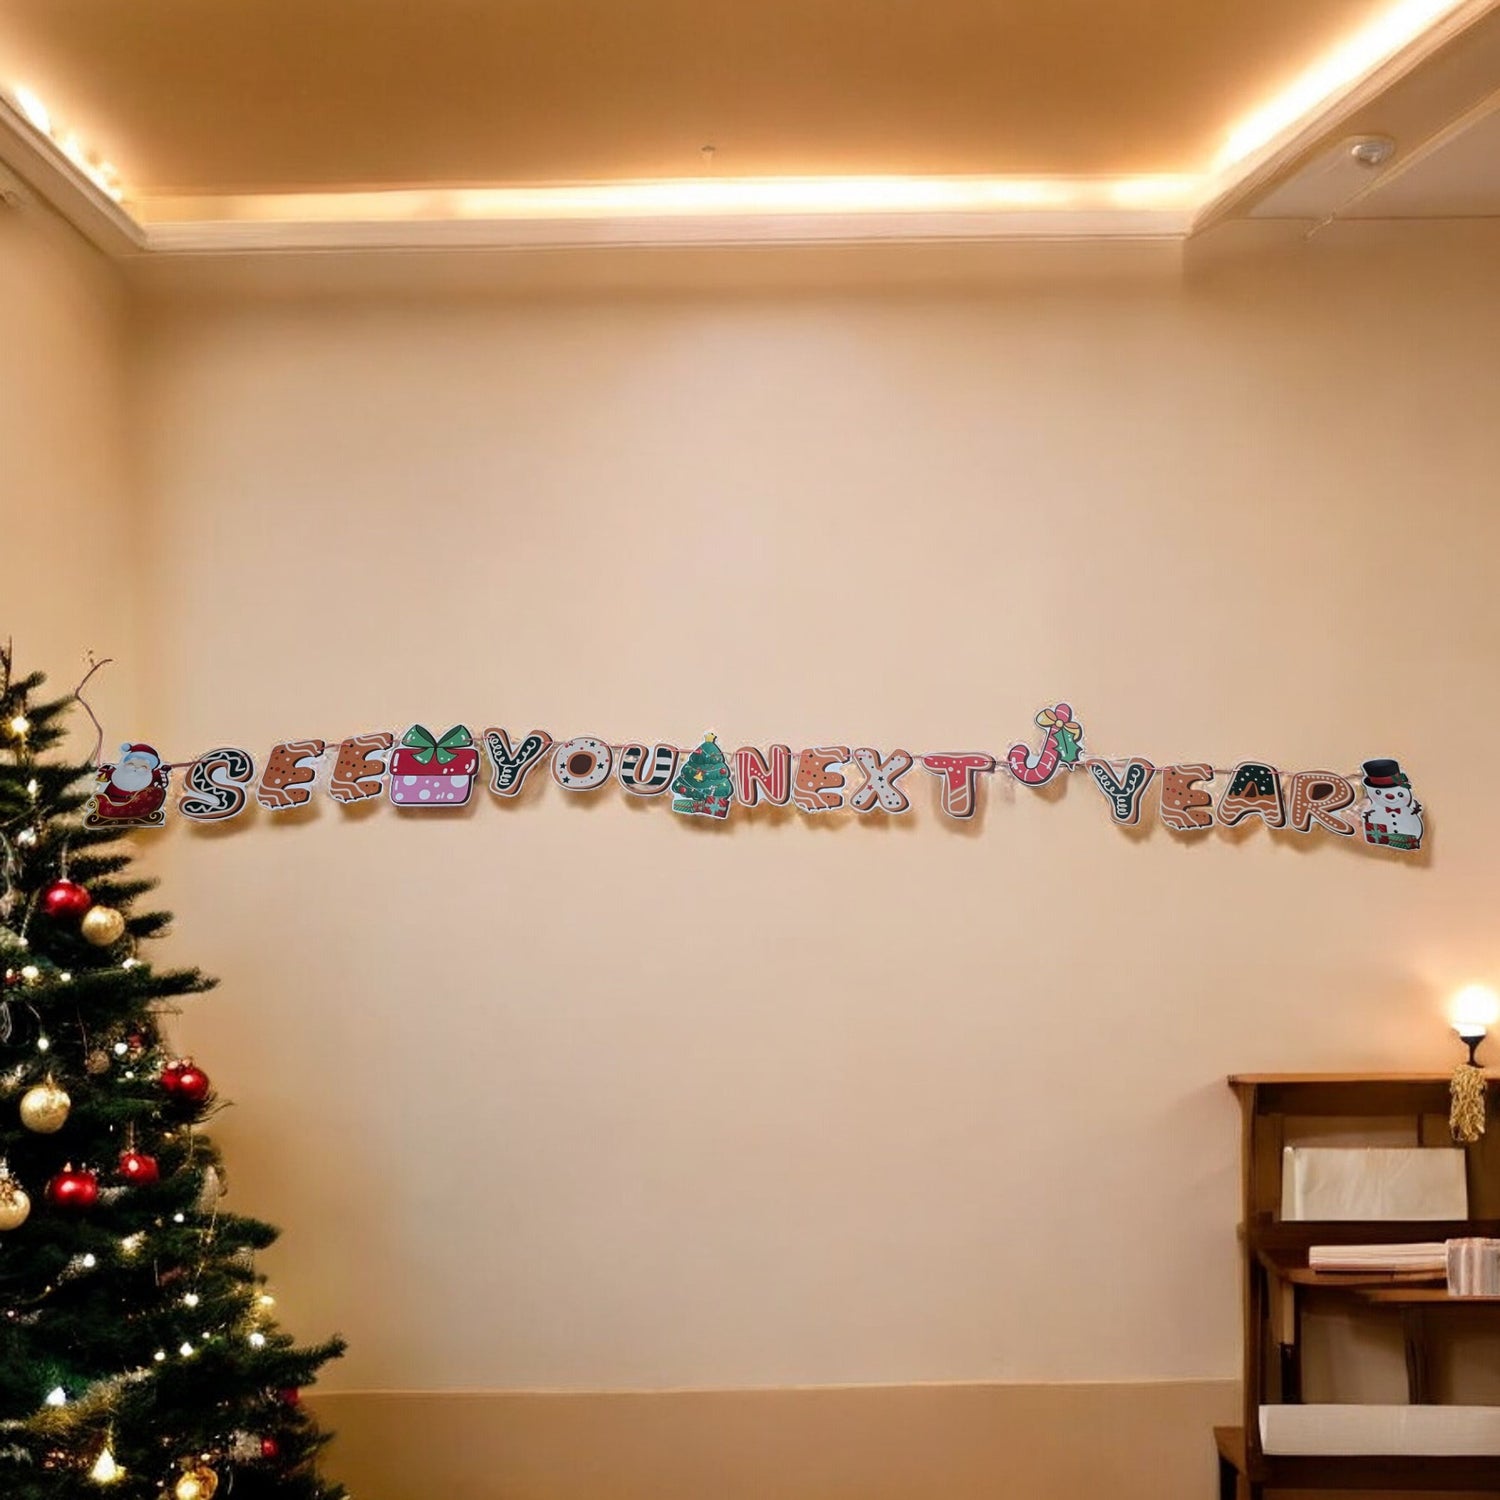
DEPARTURE DAY
LAST DAY (Day 7 • 12 • 24 • 30)
Tape the banner to the wall or tie the ends of the banner twine to a Christmas tree or another object so the kids can see it. Place the Goodbye letter nearby so it’s visible to them as well.